
WIND BLOG
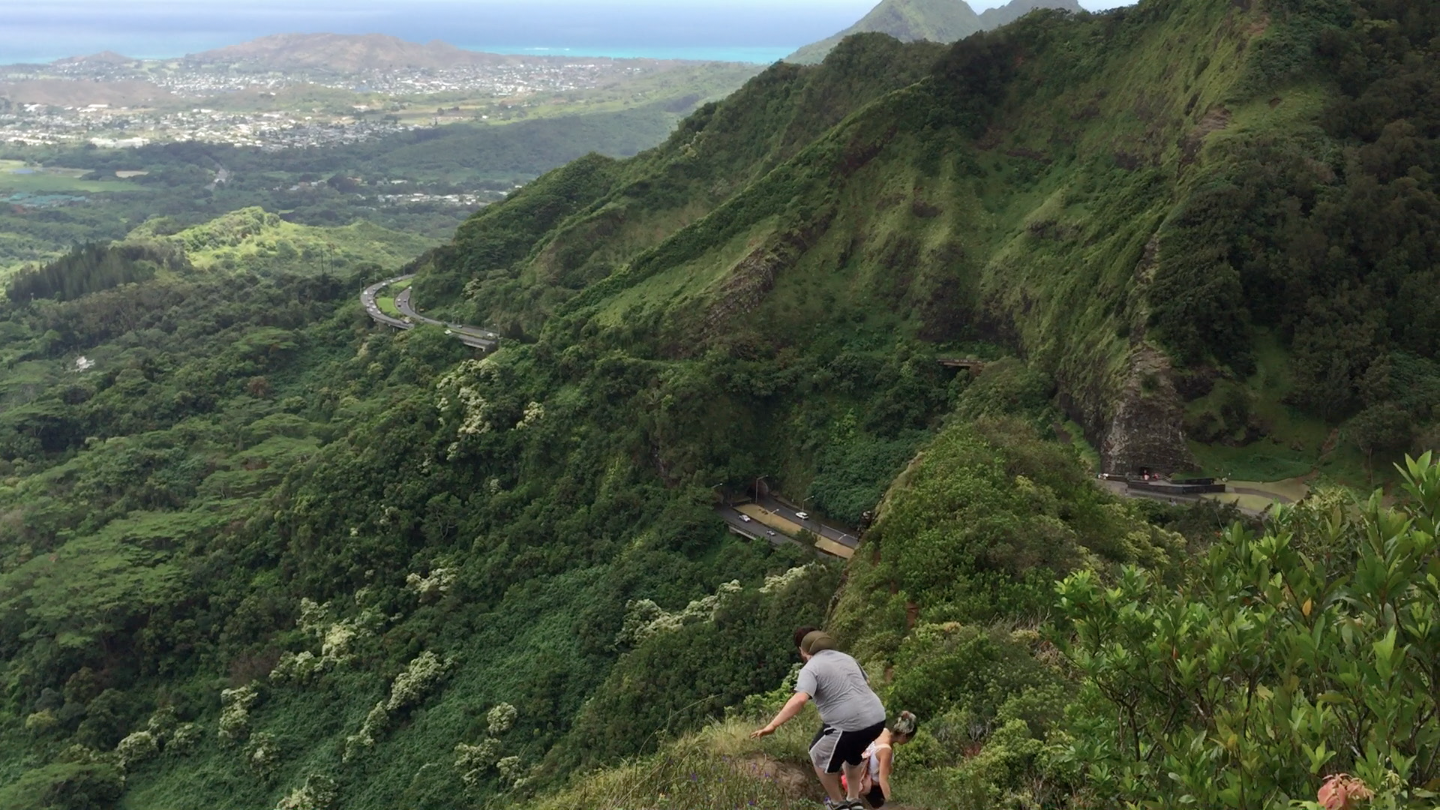
Our view in 24 frames

Using A Motorized Gimbal: Getting Smooth Dynamic Shots
One popular element in current filmmaking is the use of motorized gimbals. Gimbals are getting smaller, lighter, and cheaper, meaning that they’re used anywhere from a professional movie set to a small independent film shoot.
One popular element in current filmmaking is the use of motorized gimbals. Gimbals are getting smaller, lighter, and cheaper, meaning that they’re used anywhere from a professional movie set to a small independent film shoot.
Motorized gimbals are useful filmmaking tools to help you capture smooth, dynamic footage of your subject. They’re great for adding movement to almost anything; an action sport, a staged product, or even a sit down interview. However gimbals, like any tool, require practice and understanding in order to perfect them.
Here are some tips to help you capture engaging gimbal shots and get the most out of your equipment.
Gimbal Settings:
Before you start filming, you need to make sure you understand all of your gimbal’s settings and modes, so that you can choose what’s best for each situation. If you want slow steady movement, you want to set your motor speeds low so that your camera stays stable even if your arms shake. However if you need quick agile movements, maybe to follow a specific subject, then you’ll want to turn your gimbal motor speeds up higher. You also want to be sure to enable the axes of movement that you need, and disable the ones you don’t. For example if you won’t be tilting your camera then you can turn off the tilt axis.
Move Your Body:
In addition to knowing your gimbal settings and what effects they have on your footage, another important step is actually moving with your gimbal. While there is a time and place for basic pans and tilts, your gimbal should allow you to introduce much more “natural” and dynamic movement to your shots. Practice walking and jogging with your gimbal and bending your knees while you move so that you can get shots that move all around your subject. With a motorized gimbal you can make your viewer feel like they are gliding freely through space in each scene. Take advantage of the tool you have and move your whole body with your camera to get the best shots.
Plan Ahead: Shoot to Edit
Another tip that will help you get more engaging gimbal footage is to plan a shot list ahead of time. If you plan a shot list, you will have more time to brainstorm movements and transitions that make sense for your subject matter. If you’re going to be filming someone walking, you could draft out a low tracking shot of their feet which transitions into an upward tilt before you cut to a close up of their face. As long as you have a general idea of how your video will come together, it will help you construct a more cohesive story.
Creative Shots:
After you have the more important tips down, you can start to experiment with your gimbal. Here are a couple gimbal movements you can use creatively in your own projects.
Parallax: The parallax shot is when you move in relation to your subject while keeping them in the same part of your frame. This means you could walk around someone while keeping their face in the upper right third of the frame. This will make it look like they’re stationary but the background is moving around them.
Glide in: Another useful gimbal shot is the glide in. Instead of having a traditional “push in” or “dolly in” shot, you enable all axes of movement for your gimbal, set the motor speeds low, and then move your camera slowly through each axis as you turn towards your subject so that it feels like your camera is flying or gliding into the scene.
360 Roll: A more dramatic gimbal move is the 360 roll. For this shot you usually want to center your subject, enable 360 roll on your camera, and then use the gimbal joystick to rotate the camera 360 degrees in a barrel roll. This shot is useful on cuts, so we recommend performing the shot twice with the same subject, but in two different locations so you can cut between them.

With all these tips in mind, you should be able to start thinking about your gimbal more proactively and planning creative ways to use it to enhance your videos. Go out, start shooting, and have fun with it.
To see some of our own gimbal camera work, check out some of our videos. Additionally you can contact us with questions or help on your own project.

Developing a Conversation: How to Improve Your Video Interviews
As a video production business, we know all too well that filming video interviews can be challenging. Whether you’re working on promoting a business, telling someone’s story in a documentary, or crafting an informational video, you want to get the best interview possible. While some clients feel comfortable in front of the camera, most others do not.
As a video production business, we know all too well that filming video interviews can be challenging. Whether you’re working on promoting a business, telling someone’s story in a documentary, or crafting an informational video, you want to get the best interview possible. While some clients feel comfortable in front of the camera, most others do not.
It’s also difficult to figure out what questions to ask, how to set up the right interview environment, and how much to pre-plan or adapt on the fly. No matter which aspect of the interview you need help with, we have a quick guide to help you prepare the best video interview possible:

Build a Intentional Environment
First, you should identify what kind of video you’re making, and therefore what kind of video interview you want/need. Talk with your client about what they want to get out of the video, and identify effective ways of conveying those ideas.
If you’re filming a promotional video for a small business that wants to show off their professionalism, you can set up a more formal sit-down interview with an aesthetic backdrop like their office. Alternatively, if you’re filming a documentary style interview about a mountain biker, maybe you want a more “casual” interview on the side of their favorite trail.
You want to think about what kind of video you’re making and what clothes, background, and style fit best for your video.
Help Your Subject Feel Comfortable
One of the most important parts of an interview is getting comfortable with your subject, and letting them get comfortable with you and the camera. Being on camera can be daunting, so it’s good to expose your interview subjects to being on screen before your full interview.
Whenever you can, you should plan casual meetings, or b-roll video shoots before your interviews so that everyone gets used to being on camera. This will usually make the interview process a lot easier, since people will be more likely to open up and feel more confident talking to you in the interview.
Craft Thoughtful Questions
Questions are an essential part of interviews, but there is more to coming up with questions than you might think. For most interviews you don’t just want your subject to answer questions. Instead you want to develop an engaging conversation with your interview subject.
Your questions can be simple and to the point, but you want to guide your subject into talking about what matters to them and why, instead of leading them to one sentence answers.
If you’re talking to a business manager don’t just ask them what their company does, find ways for them to talk about what inspired their business and what motivates their work. If necessary prepare a few questions for each topic so that you have multiple ways of talking about the same idea.
Be Ready to Adapt
Once you’ve fully prepared for your interview (you know how you want it set up, you know everyone is comfortable and ready, and you know what kinds of questions you’re going to ask), you also need to be prepared to adapt.
No matter how well you know your interview subject and the environment you’ll be in, nothing goes exactly as planned. Whether you need to adjust your interview set up to get the right sunlight, or you need to come up with some new questions on the spot, you’re going to need to adapt.
The most important thing is that while you’re conducting your interview, make sure you really listen to your subject’s answers, and how they respond to certain questions over others. Use their answers to help you dig deeper into the interview and get the content you need to make a quality video and story.

If you keep all these ideas in mind and plan ahead, while also being prepared for unexpected things to happen, you should be able to craft a quality interview. If you still need creative ideas, check out some of our own examples. You can also contact us for help with your own project!

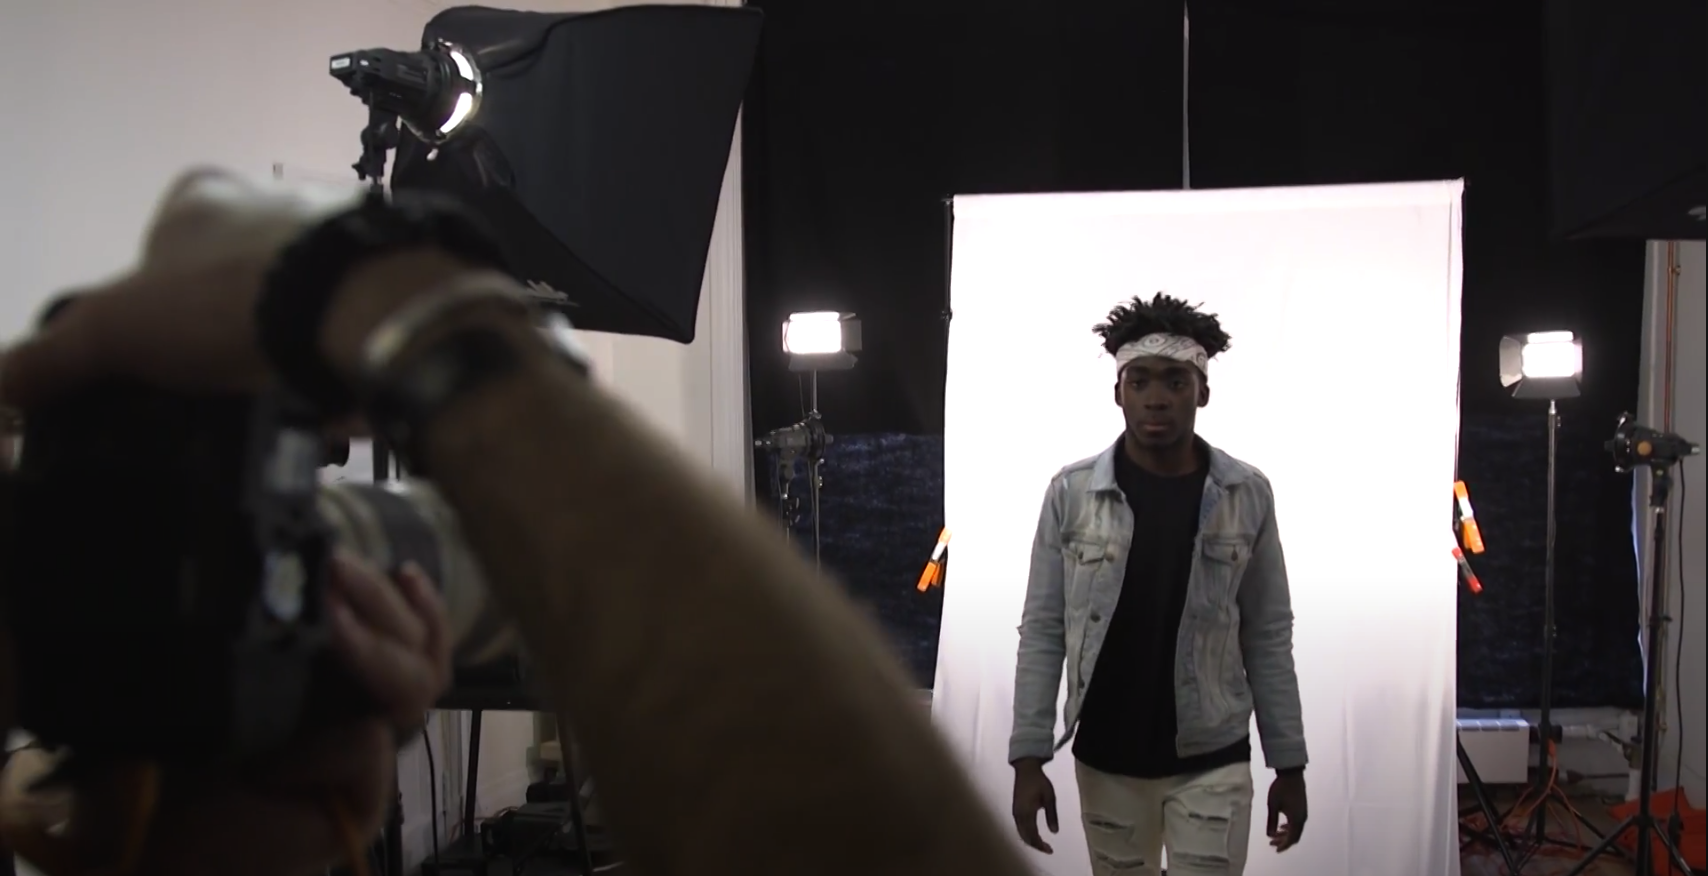
Setting Up a Quality Studio Backdrop
If you’re working in film production, studio work can be just as valuable as location work. When you’re on location, it’s often important to adapt and find the best lighting and angles. However if you’re working in the studio, it’s crucial that you craft a quality studio backdrop and lighting setup to make the most out of the space you have.
If you’re working in film production, studio work can be just as valuable as location work. When you’re on location, it’s often important to adapt and find the best lighting and angles. However if you’re working in the studio, it’s crucial that you craft a quality studio backdrop and lighting setup to make the most out of the space you have. If you’re looking to set up for a studio photo shoot, talking head interview, filmed podcast, or product shoot, here are some strategies to boost your own setup!
Backdrop
Green screen
One useful tool to have for any studio shoot is a green screen. If you need a backdrop that you don’t have, or something other than a solid color, a green screen is a great way to add a more interesting backdrop to whatever you’re shooting. If you do decide to use a green screen, the key is simplicity. Stick to soft focus backgrounds with lighting that matches well with your own studio lighting. The better you can match the theme and lighting of your added background with your original image, the more cohesive the final image will look.

Textures
Another way to boost your work in a studio is to use visual textures. Tile, wood grain, brick, and even water are all useful textures that will help draw your viewers into the environment you’re crafting. If you add texture to an image you give your viewer something familiar to connect with. When choosing textures, think about the themes and subjects of your video/photo shoot, and choose textures that fit appropriately with those themes.

Props/Background Elements
Once you’ve settled on a backdrop, another way to add to your background is to add objects to your space. Think about who/what your subject is going to be, and if there are objects that could help compliment that subject. If your subject is some sort of food or drink with a specific flavor, you can add the fruits, vegetables, etc. that make up that flavor to the backdrop.
Lighting
Lighting Setups
One crucial aspect of studio work is using lighting to make your subject look more flattering. There are all kinds of lighting setups, most of which can be created using 3 main light sources. If you want to learn more about 3 point lighting, check out our blog on the basics of studio lighting.

Light Shapes
In addition to setting up lights in different orientations to make your subject pop, you can also use different kinds of lights for different visual effects. There are tube lights, ring lights, bulbs, etc. Often times, you can use these different lights to heighten the quality of something. Tube lights for example can reflect off of tall slender subjects and heighten the effect of how tall they look. Meanwhile ring lights can bring your viewer’s focus to a subject’s eyes by creating a distinct catchlight. If you can afford to buy different lights, try out different shapes and styles and find what works best for your particular studio shoot.
Color Temperatures
Another way you can manipulate light is with color temperature. LED’s often allow you to adjust your color temperature to different levels of orange and blue light, and there are also gels you can put over your lights and add different colors to your images. Changing the color temperature of your lights can add a particular visual style. If you want a sad, moody look, you can add more blue light to your subject. Alternatively if you want a sunny, summer feel, you can add more orange light to your image. Consider what feelings you want to convey, and then use the colors you think will best convey those emotions while complimenting your subject.

These general tips should help you get started with different backdrop and lighting setups. Your background and lighting are “make or break” factors in creating engaging studio images, so take your time and focus on different elements of your image as you set up your studio.
For examples of our own studio work, check out the studio page on our website. Additionally you can contact us for help on your own project!

Camera Settings Part 3: Shutter Speed
The shutter speed of a camera is how long your camera’s sensor is exposed to light from your surroundings. Camera’s have blinds, or “shutters” that block the light from going into the camera sensor. When you go to take a picture or a video, your camera’s shutter will open to let in light and capture that image.
As we’ve said for every blog in this series, a key part to working in videography or photography is knowing your camera. Obviously there is a lot that goes into visual art, and it’s important to pay attention to framing and subject matter, but before you start focusing on what to shoot with your camera, you want to know how to shoot with your camera.
The third step we want to cover is shutter speed.
Definition:
The shutter speed of a camera is how long your camera’s sensor is exposed to light from your surroundings. Camera’s have blinds, or “shutters” that block the light from going into the camera sensor. When you go to take a picture or a video, your camera’s shutter will open to let in light and capture that image. The shutter speed of a camera is how long that shutter is open. This is one of the three main settings for determining your camera’s exposure (the first two being aperture and ISO).
Effects:
Since the shutter speed determines how long your camera sensor is open and exposed to light, the longer the shutter speed, the brighter your image will be. Alternatively shorter shutter speeds will make your image darker. The shutter speed also has an additional effect on your image, which is motion blur.
Whether you’re taking a photo or shooting video, lower frame rates mean that your camera sensor is open for longer, capturing more of the motion from an object, blurring the exact position of that object. If you’re taking photos of a bird with a slow shutter speed for example, the bird will look blurry because of all of the motion that was captured for one single image. On the other end, fast shutter speeds allow you to “freeze” motion by capturing crisper images of fast moving objects.
Camera Settings:
In your camera, your shutter speed should be labeled appropriately, followed by a number (usually a fraction). Shutter speeds are measured in seconds, but more often fractions of a second. This means a slow shutter speed of ¼ would be 0.25 seconds, while a fast shutter speed of 1/1000 would be 0.001 seconds. Shutter speeds range anywhere from multiple seconds, to multiple thousandths of a second.
Using Shutter Speed:
Photography: In photography you want to pick a shutter speed that balances the proper exposure of your image while allowing you to capture the speed of your subject. If you’re taking still life photos or landscapes, you can generally stick to slower shutter speeds. However if you’re taking photos of athletes or moving animals, chances are you’ll need a high frame rate. Additionally, if you’re working hand held, you usually don’t want to drop your shutter speed below 1/40th of a second to avoid blurring your image
Videography: In video you need to balance your shutter speed with your frame rate. Since video is essentially just a series of photos played one after the other, your frame rate (fps) determines how many frames/photos are taken each second. Your shutter speed works in combination with your frame rate to determine the look of your video. To capture seemingly “natural” motion, shoot at a shutter speed double your frame rate. This means if you’re shooting at 24fps, then your shutter speed should be roughly 1/48, or 1/50. No matter what, don’t choose a shutter speed slower than your frame rate, because it will distort your video.
Now that you know what your camera’s shutter speed is and how it works, go test it out. Try filming the same actions or subjects with different shutter speeds to see how it affects your image. This way you can develop your own personal style.

If you want additional help working with your camera, you can check out the rest of our blogs here, or you can contact us about help with your own project!

Portraying Your Brand: How to Advertise Your Business in a Video
It’s easy to get caught up trying to convince customers to buy your product, advertising to everyone. Instead of trying to force a connection with every customer, focus on creating advertisements that reflect your business’ goals, strengths, and attitudes. This strategy should help you find customers that are compatible with your brand.
If you’re looking to start advertising your business through video, it can seem like a daunting task. You want to be able to draw in new customers, but you also want to be authentic to your company, brand, and culture.
It’s easy to get caught up trying to convince customers to buy your product, advertising to everyone.
Instead of trying to force a connection with every customer, focus on creating advertisements that reflect your business’ goals, strengths, and attitudes. This strategy should help you find customers that are compatible with your brand.

Here are some tips to help you craft a more natural, but effective advertising video:
Have Confidence in Your Business
You’ve developed a business that is filling a need in your community. The fact that your business exists, and that you’re looking to start an advertising campaign, means that there are more customers out there for you.
Now your goal should be to find the customers that are right for you. During this process remember what your company stands for and proudly stand by those attitudes and values.
Identify Your Strengths
Before starting your video campaign, take time to reflect, talk to your employees and current customers. What do you do well, and what do you have to offer to others? What values does your business uphold? What is the story behind your business and how did you build the community you have already?
When making a video campaign, it’s not just about advertising your products, but it’s also about sharing your broader story. You want to be able to connect with people on a deeper level and build a community.
Present Your True Self
Once you’ve taken the time to identify what values and ideas you want to get across, now you can actually plan and film your video campaign.
Get your community to join in on the video. If you can, film interviews with your employees and your customers. Show people actually engaging with you and your employees. You want to let people see what your community is like, so that when the right people see your videos, they know immediately they want to be a part of your business’ community.

The process of making a video campaign for your business isn’t easy, but it can be a rewarding process. Take your time and have fun with it!
If you’re still confused or need help starting your own campaign, check out some of our past projects, and/or contact us about your own project. We are happy to help you through any step of the process!

The Filmmaking Process
If you’re a creator, pursuing ideas and projects can feel like an ebb and flow: Sometimes it’s easy to come up with and work on interesting ideas, other times, you can have a total mental block. Whatever step of the process you’re at, there are challenges along the way.
If you’re a creator, pursuing ideas and projects can feel like an ebb and flow: Sometimes it’s easy to come up with and work on interesting ideas, other times, you can have a total mental block. Whatever step of the process you’re at, there are challenges along the way.

If you’re looking for motivation or new approaches to the creative process, here are some strategies we’ve found helpful!
Idea
When you’re in the idea stage, it’s easy to get caught up thinking about the big picture. For example, maybe you can’t stop thinking about beautiful landscape shots of your local mountains.
While having these mental images can help you brainstorm, start by thinking about what kinds of stories you want to tell. Do you want to explore ideas of community in your area, or display the connection of outdoor athletes with nature? By thinking about these bigger story ideas, and refining the kinds of content you want to produce, you can help yourself develop new projects.
The Pitch
Once you have your project idea, it’s time to pitch the project to a potential client. Before you get to the pitch, refine your idea, and tailor it to suit your pitch to a potential business. Research the brand you want to work with. What projects have they done in the past? How can your ideas fit in with their business?
In the beginning stages of your idea, you want to be open and adaptable. After you’ve settled on a promising project, be critical about your own work and ideas. You want your work to be as strong as possible, so be honest about trimming off parts that aren’t as strong, sometimes to a single theme or concept.
During any editing process, remember you are just critiquing your work. Your ideas and creative process will improve with time. Put in the time to be confident about your work while still being open to new ideas.
Planning
Now that your project is approved, it’s time for the planning stage. Depending on the shoot and your resources, you will need to form a team. Identify the positions you need filled, and find people who match your creative style.
After you’ve assembled your team, plan a pre-shoot meeting to introduce everyone, go over everyone’s specific rolls, and address questions about the project. You want to make sure that everyone can work safely and efficiently on the actual day of the film shoot.

Once you’re ready for the shoot, it’s important to be able to adapt to the situation once you’re there. Especially when working on location, plan out time to walk around and experiment with different ideas. Even though film projects are a lot of work, they’re also supposed to be fun!
If you have questions or need help with your own projects, contact us. We are always looking for new people and businesses to collaborate with.

Camera Settings Part 2: ISO
As we mentioned in part one of this blog, a key part to working in videography or photography is knowing your camera. Obviously there is a lot that goes into visual art and it’s important to pay attention to framing and subject matter, but before you start focusing on what to shoot with your camera, you want to know how to shoot with your camera.
As we mentioned in part one of this blog, a key part to working in videography or photography is knowing your camera. Obviously there is a lot that goes into visual art and it’s important to pay attention to framing and subject matter, but before you start focusing on what to shoot with your camera, you want to know how to shoot with your camera.
The second step we want to cover is ISO (click here to read Part 1: Aperture)
Definition:
The ISO setting for your camera, is a measure of how sensitive your camera sensor is to light. Originally, back before digital cameras, the iso was a measure of how sensitive the type of film you were buying was to light. Now though with digital photography and videography, you can adjust your camera’s iso as you work.
Effects:

You can keep your ISO low for bright outdoor shots
The ISO setting on a camera has two main effects. Since the ISO is a measure of how sensitive your camera sensor is to light, the higher the ISO number, the brighter your image will get. Additionally, by increasing this sensitivity, you also add more grain or “noise” to your image. Alternatively, the lower your ISO is, the darker your image will be, and the finer the grain is, meaning there is less “noise” in your image.
One additional factor to ISO, is that as cameras are improving camera companies have been able to improve camera sensor qualities, meaning that higher ISO numbers will still be able to produce clean looking images with less grain/digital “noise”.
Camera Settings:
On your camera, the ISO setting should be straight forward, listed directly as ISO. You can set your ISO generally anywhere between 100 on the low end, and 6400 on the high end. Newer cameras today though have ISO ranges that can go above and below these standards. An ISO of 100 will give you a darker image with little to no grain, while an ISO of 6400 will give you a brighter image with some digital grain (exactly how much depends on the quality of your camera sensor).
Using ISO:
Unless you’re going for a specific “grainy” look to your image, we recommend using the lowest ISO possible for whatever situation you’re shooting. If you’re working outside on a sunny day, this means you could go as low as 100 for your ISO and still have plenty of light to produce a quality image. If you’re indoors, or shooting at night, you might need to boost your ISO to get a bright enough image.
It’s also important to know how your particular camera performs at different ISO levels. Since some camera sensors are better than others, and particular cameras have cropped sensors, some cameras will perform better at higher ISOs than others.

In a dark room like the photo above, you might have to boost your ISO to brighten your image.
Now that you know what your camera’s ISO is and how it works, go test it out. Get your camera, and figure out how to change your ISO. Then go experiment and take photos and videos. Try filming the same actions or subjects the same way but with different ISO settings to see how it affects your image, and to see when the grain in your image becomes too distracting.
If you want additional help working with your camera, you can check out the rest of our blogs here, or you can contact us about help with your own project!

Camera Settings Part 1: Aperture
A key part to working in videography or photography is knowing your camera. Obviously there is a lot that goes into it, and it’s also important to pay attention to framing and subject matter, but before you start focusing on what to shoot with your camera, you want to know how to shoot with your camera.
A key part to working in videography or photography is knowing your camera. Obviously there is a lot that goes into it, and it’s also important to pay attention to framing and subject matter, but before you start focusing on what to shoot with your camera, you want to know how to shoot with your camera.
The first step we want to cover is aperture.
Definition:
Your camera or lens’ aperture, is the opening in your lens that lets in light when you trigger the shutter. Essentially your aperture is how big or small the opening is that lets in light to your camera to craft your image.
Effects:
Depending on how big the opening or aperture of your camera lens is, it will affect how much light is able to enter into the lens while the hole is open, and it also affects which directions of moving light are captured.
If the aperture is really big, then the camera will capture a lot of light, moving in lots of different directions, meaning only some of that light will be directed right at the camera. This means that your image will be brighter, and that only a small amount of the image will be in focus (which is called a shallow depth of field). The reason you will have a shallow depth of field is that only the light that was directed at a specific angle into the lens will be in focus, while the rest of the light captured moving in different directions won’t be in focus.
If the aperture is really small, then your camera will capture less light, but all moving in a similar direction. This means your image will be darker, and most of the image will be in focus (which is called a wide depth of field). Since the opening is smaller, only the light that is directed right into the camera will be captured, which is what creates that wide depth of field.
An example of a shallow depth of field (bigger aperture)
Camera Settings:
Now that you know what aperture is and what effects it has on your resulting image, it’s time to learn how to adjust that in your camera. Most cameras, analog and digital, allow you to change the aperture by adjusting the F-stop setting of your camera. The F-stop is a ratio of the camera’s focal length to the diameter of the entrance. This can be confusing, but what this means is that a high F-stop is a small aperture, while a low F-stop is a large aperture. Most apertures range from anywhere as low as F1.4 to about F22. The smaller the F-stop, the wider the aperture or opening of your camera lens.
Using Aperture:
Camera settings are all about finding a balance in order to achieve a look that you like. There are no specific right answers on how to use aperture, but changing it will affect your image. As a general guide, to determine your aperture or F-stop, think about how much of your frame you want in focus. If you’re taking photos of beautiful open landscapes, you probably want a small aperture (or high F-stop) in order to see all of that landscape. If you’re shooting a specific subject like a person, and you want a shallow depth of field to soften the edges around them and direct your focus to their face, then you want to set a wide aperture (or a low F-stop).

An example of a wider depth of field (smaller aperture)
Now that you know what your camera’s aperture is and how it works, go test it out. Get your camera, and figure out how to change your aperture. Then go experiment and take photos and videos. Try filming the same actions or subjects the same way but with different aperture settings to see how it affects your image.
If you want additional help working with your camera, you can check out the rest of our blogs here, or you can contact us about help with your own project!

Drone Videography: 4 Tips to Shoot Better Drone Footage
Whether you just got a drone license, or you’ve been flying for a while, it can be tricky to get the shots you want while also piloting the drone itself. However just getting a camera perspective from the sky isn’t enough to wow your viewers, you still need to craft engaging, dynamic images.
Whether you just got a drone license, or you’ve been flying for a while, it can be tricky to get the shots you want while also piloting the drone itself. However just getting a camera perspective from the sky isn’t enough to wow your viewers, you still need to craft engaging, dynamic images.

Here are four points you should focus on to improve your own drone videography.
Frame Rate
One important aspect of improving your drone footage is to know what frame rates to use for different situations. If you’re filming moving objects that you want at full speed, then you should generally be shooting at 24 frames per second. If you want a slower, smoother look for your footage (like for big landscape shots) we recommend shooting at 30fps and then slowing your footage down to 24fps. You can also shoot at 60fps for additional slow motion, but often times this degree of slow motion can seem too slow for most scenarios you’re shooting from the sky.
Exposure
When you’re filming with a drone up in the sky, your camera is exposed to lots of sunlight. Unlike on the ground, there isn’t any shade to move into to adjust your frame. That’s why you need to be especially careful with your exposure settings. The settings you need to balance are your shutter speed, your aperture (or F stop), and your iso. For your shutter speed, you should usually be set to double whatever your frame rate is (at 30fps, your shutter speed should be 1/60) to get the smoothest possible footage, so essentially you’re just going to be balancing your aperture and iso.
In setting your aperture, you want to balance your image exposure while also considering your depth of field. If you want a shallower depth of field and a brighter image, you want a lower aperture. Alternatively for a wider depth of field and less light, you want a higher aperture. For iso, you generally want to have as low an iso as possible. A higher iso will increase your exposure but add visual grain to your image.
If you’re filming on a particularly bright day but still want to have more flexibility with your exposure settings, you can also use drone ND filters. ND (or Neutral Density) filters are filters you can put onto your camera lenses to adjust how much light you let in. ND filters allow you to shoot on bright sunny days and still use a low aperture for a shallow depth of field.
Composition
After you’ve dialed all your settings, the next step to improving your drone cinematography is your formal composition. Just like with “normal” videography on the ground, one of the most important parts of developing stunning footage is composing your image.
There is the rule of thirds where you divide your image up into thirds and you can put your main subject on one of those thirds. In some situations you might want to center your subject. Alternatively you could compose a symmetrical image with balancing subjects on opposite sides of the screen.
There is no single right answer, but it’s important that you consider your options and choose what you think fits best for the situation. Important things to consider are your subject and how much it’s moving, the background and how well it complements your subject, and where the horizon line is in relation to everything else.
Smooth Motion
Similar to filming handheld, on a tripod, or on a gimbal, you need to practice in order to get smooth consistent footage. It’s not enough to just move the joysticks of your drone and hope for the best. You should get used to slowly accelerating the drone. This will start to give you a dynamic floating effect, like your viewer is gliding through the air.
Now that you’ve read these tips, go out and practice. Shoot on days with different conditions and figure out what settings you like best for each situation. The more you play around and get to know your drone and it’s settings, the better prepared you’ll be for any commercial video shoot.

If you want examples of our own drone work, check that out here. If you need help with your own aerial photo or video project, you can also contact us about whatever stage(s) of the process you’re on.


Studio Lighting: Tips for Lighting Up Your Subject
A crucial aspect of visual work, photography or videography, is getting the right lighting on your subject. Especially if you’re working in a studio, you should have full control over the look of your subject, because lighting can make a huge difference in transitioning your photos or footage from looking amateur, to looking professional.
A crucial aspect of visual work, photography or videography, is getting the right lighting on your subject. Especially if you’re working in a studio, you should have full control over the look of your subject, because lighting can make a huge difference in transitioning your photos or footage from looking amateur, to looking professional.
However with lighting, like any creative endeavor, there is not one correct answer, but a number of effective ways to approach different situations. To get started, here is a list of some basic lighting tips and styles.
Basics
Before we talk about any specific lighting style, we should talk about typical 3-point lighting. A good start to any studio lighting setup, is having three main sources of light set up around your subject. Each of these 3 lights serves a different role, but together they should help you construct a more dynamic image.
The first and main light is called the key light. The key light usually lights up the front of your subject, and brightens that subject to help them stand out from the background. This is usually your main light source. Your second light is the fill light. Since your key light often creates shadows across your subject’s face, you use the fill light to supplement some of those shadows so you can see more of their face. Third, we have the back light. The back light is usually used to light up your subject from behind and add a little more depth to your image. Often the back light creates a subtle “halo” of light on the edges of your subject, separating them from their surroundings. When you use all these lights together you can create a number of engaging visual looks.
Soft Light
One basic lighting style is “soft” lighting. Soft lighting means that there is a lot of light, evenly spread out across a subject, and usually their surroundings. A good natural example of soft lighting would be a cloudy day, or a bright sunlit room. To achieve soft lighting, you usually want your key light just above your camera, or slightly off to the side. Your fill light should even out all the shadows, and create an even brightness on the whole subject. In this scenario you can use your back light to subtly add depth to your subject, or you can use it to light the background. This lighting style is great for light hearted, or happy material like weddings, senior portraits, or client testimonials.
Hard Light
In contrast to soft light, there is hard light. Hard light is when you add shadows to your subject to convey depth and drama. To achieve hard lighting, move your key light off to one side of the camera and higher up, so that the light comes down across your subject’s face. If you move the light too high, you’ll create a shadow over their eyes, but if you move it too low you’ll light up the bottom of their chin, nose, and eyebrows. This means it’s important to find the right height. Next, you want to either dim, diffuse, or turn off your key light so that the shadows are prominent. The shadows don’t need to be pitch black, but you want significant contrast between your highlights and shadows. For your back light you want to light up one side of your subject’s back, either to match the lighting from the front, or contrast it. Hard light is great for dramatic scenes or for a more “cinematic” look to your images.
Split Lighting
The next technique is split lighting. For split lighting you can remove your fill light entirely, and shift your key light so that it is 90 degrees from your subject’s face, lighting up only half of their face. This creates a really dramatic shadow, splitting their face into half light, and half dark. This lighting technique is useful for intense moments, or when you want to convey a character’s decision between two choices.

There are lots of different variations of these lighting techniques, along with many more styles that you can try, but this is a basic guide to get you started. Check out some of our own video and photo work to see how we light our projects. Additionally you can contact us for help with your own project.