
WIND BLOG
Our view in 24 frames

Drone Videography: 4 Tips to Shoot Better Drone Footage
Whether you just got a drone license, or you’ve been flying for a while, it can be tricky to get the shots you want while also piloting the drone itself. However just getting a camera perspective from the sky isn’t enough to wow your viewers, you still need to craft engaging, dynamic images.
Whether you just got a drone license, or you’ve been flying for a while, it can be tricky to get the shots you want while also piloting the drone itself. However just getting a camera perspective from the sky isn’t enough to wow your viewers, you still need to craft engaging, dynamic images.

Here are four points you should focus on to improve your own drone videography.
Frame Rate
One important aspect of improving your drone footage is to know what frame rates to use for different situations. If you’re filming moving objects that you want at full speed, then you should generally be shooting at 24 frames per second. If you want a slower, smoother look for your footage (like for big landscape shots) we recommend shooting at 30fps and then slowing your footage down to 24fps. You can also shoot at 60fps for additional slow motion, but often times this degree of slow motion can seem too slow for most scenarios you’re shooting from the sky.
Exposure
When you’re filming with a drone up in the sky, your camera is exposed to lots of sunlight. Unlike on the ground, there isn’t any shade to move into to adjust your frame. That’s why you need to be especially careful with your exposure settings. The settings you need to balance are your shutter speed, your aperture (or F stop), and your iso. For your shutter speed, you should usually be set to double whatever your frame rate is (at 30fps, your shutter speed should be 1/60) to get the smoothest possible footage, so essentially you’re just going to be balancing your aperture and iso.
In setting your aperture, you want to balance your image exposure while also considering your depth of field. If you want a shallower depth of field and a brighter image, you want a lower aperture. Alternatively for a wider depth of field and less light, you want a higher aperture. For iso, you generally want to have as low an iso as possible. A higher iso will increase your exposure but add visual grain to your image.
If you’re filming on a particularly bright day but still want to have more flexibility with your exposure settings, you can also use drone ND filters. ND (or Neutral Density) filters are filters you can put onto your camera lenses to adjust how much light you let in. ND filters allow you to shoot on bright sunny days and still use a low aperture for a shallow depth of field.
Composition
After you’ve dialed all your settings, the next step to improving your drone cinematography is your formal composition. Just like with “normal” videography on the ground, one of the most important parts of developing stunning footage is composing your image.
There is the rule of thirds where you divide your image up into thirds and you can put your main subject on one of those thirds. In some situations you might want to center your subject. Alternatively you could compose a symmetrical image with balancing subjects on opposite sides of the screen.
There is no single right answer, but it’s important that you consider your options and choose what you think fits best for the situation. Important things to consider are your subject and how much it’s moving, the background and how well it complements your subject, and where the horizon line is in relation to everything else.
Smooth Motion
Similar to filming handheld, on a tripod, or on a gimbal, you need to practice in order to get smooth consistent footage. It’s not enough to just move the joysticks of your drone and hope for the best. You should get used to slowly accelerating the drone. This will start to give you a dynamic floating effect, like your viewer is gliding through the air.
Now that you’ve read these tips, go out and practice. Shoot on days with different conditions and figure out what settings you like best for each situation. The more you play around and get to know your drone and it’s settings, the better prepared you’ll be for any commercial video shoot.

If you want examples of our own drone work, check that out here. If you need help with your own aerial photo or video project, you can also contact us about whatever stage(s) of the process you’re on.


Studio Lighting: Tips for Lighting Up Your Subject
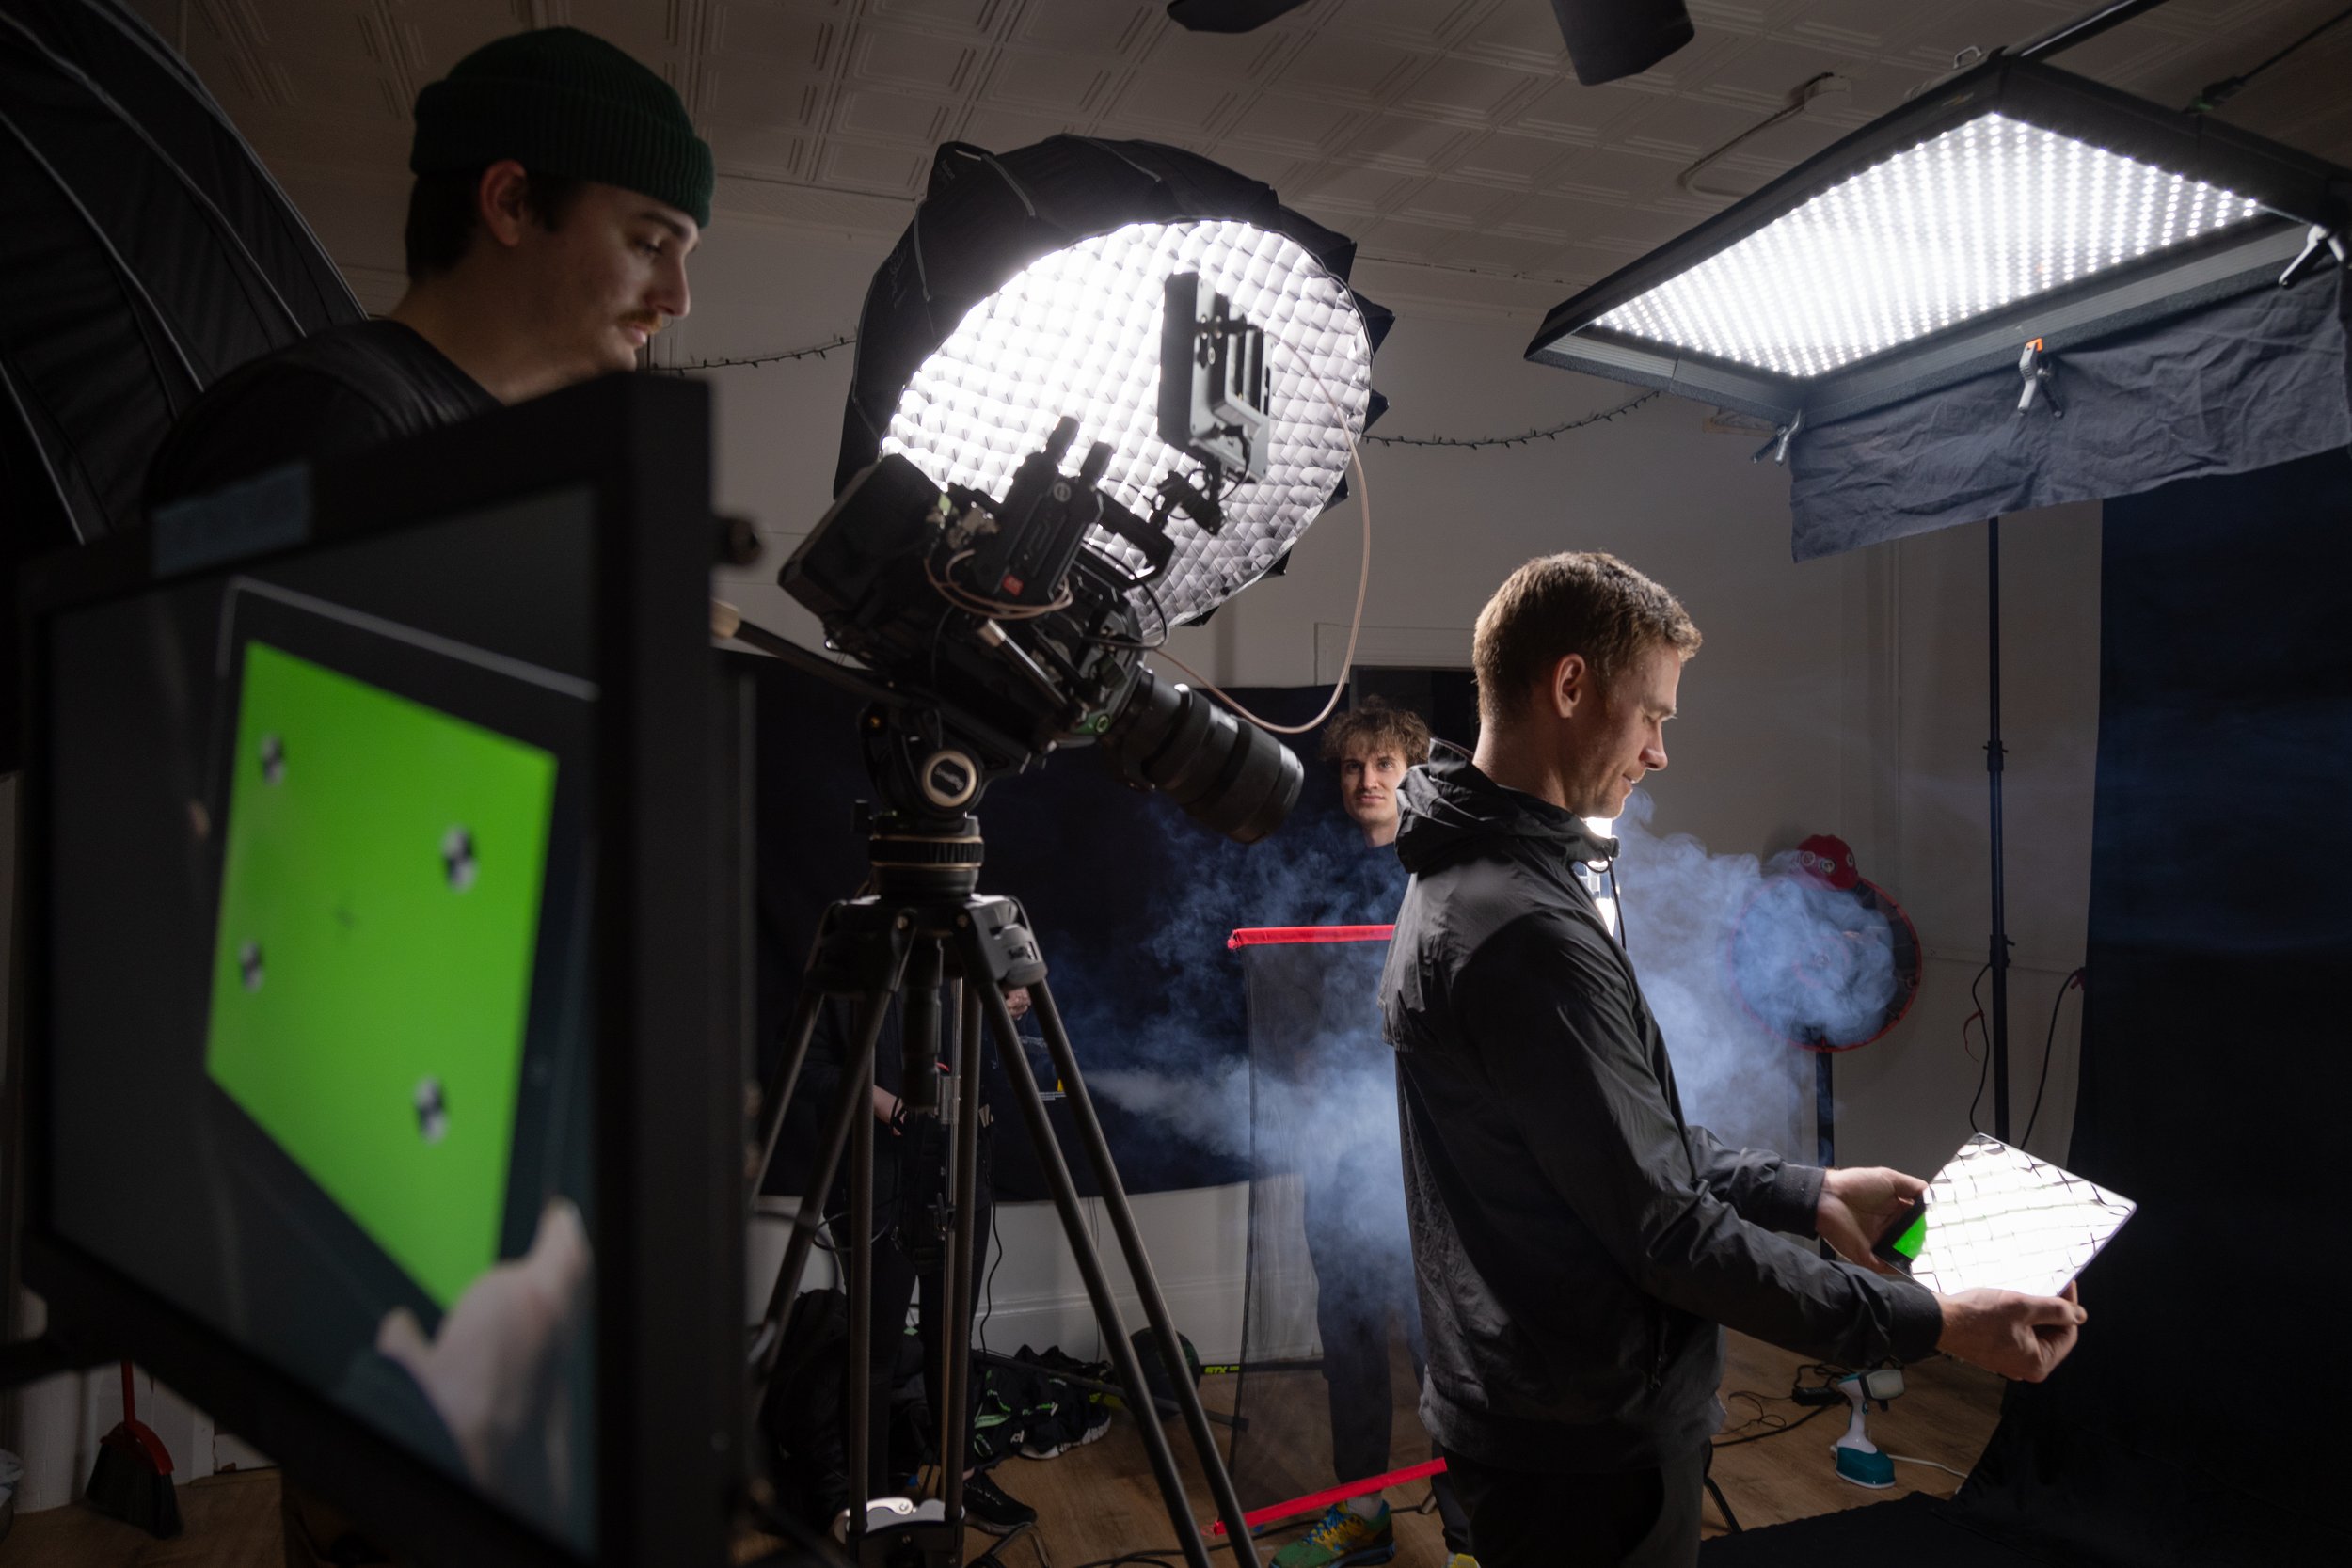
A crucial aspect of visual work, photography or videography, is getting the right lighting on your subject. Especially if you’re working in a studio, you should have full control over the look of your subject, because lighting can make a huge difference in transitioning your photos or footage from looking amateur, to looking professional.
A crucial aspect of visual work, photography or videography, is getting the right lighting on your subject. Especially if you’re working in a studio, you should have full control over the look of your subject, because lighting can make a huge difference in transitioning your photos or footage from looking amateur, to looking professional.
However with lighting, like any creative endeavor, there is not one correct answer, but a number of effective ways to approach different situations. To get started, here is a list of some basic lighting tips and styles.
Basics
Before we talk about any specific lighting style, we should talk about typical 3-point lighting. A good start to any studio lighting setup, is having three main sources of light set up around your subject. Each of these 3 lights serves a different role, but together they should help you construct a more dynamic image.
The first and main light is called the key light. The key light usually lights up the front of your subject, and brightens that subject to help them stand out from the background. This is usually your main light source. Your second light is the fill light. Since your key light often creates shadows across your subject’s face, you use the fill light to supplement some of those shadows so you can see more of their face. Third, we have the back light. The back light is usually used to light up your subject from behind and add a little more depth to your image. Often the back light creates a subtle “halo” of light on the edges of your subject, separating them from their surroundings. When you use all these lights together you can create a number of engaging visual looks.
Soft Light
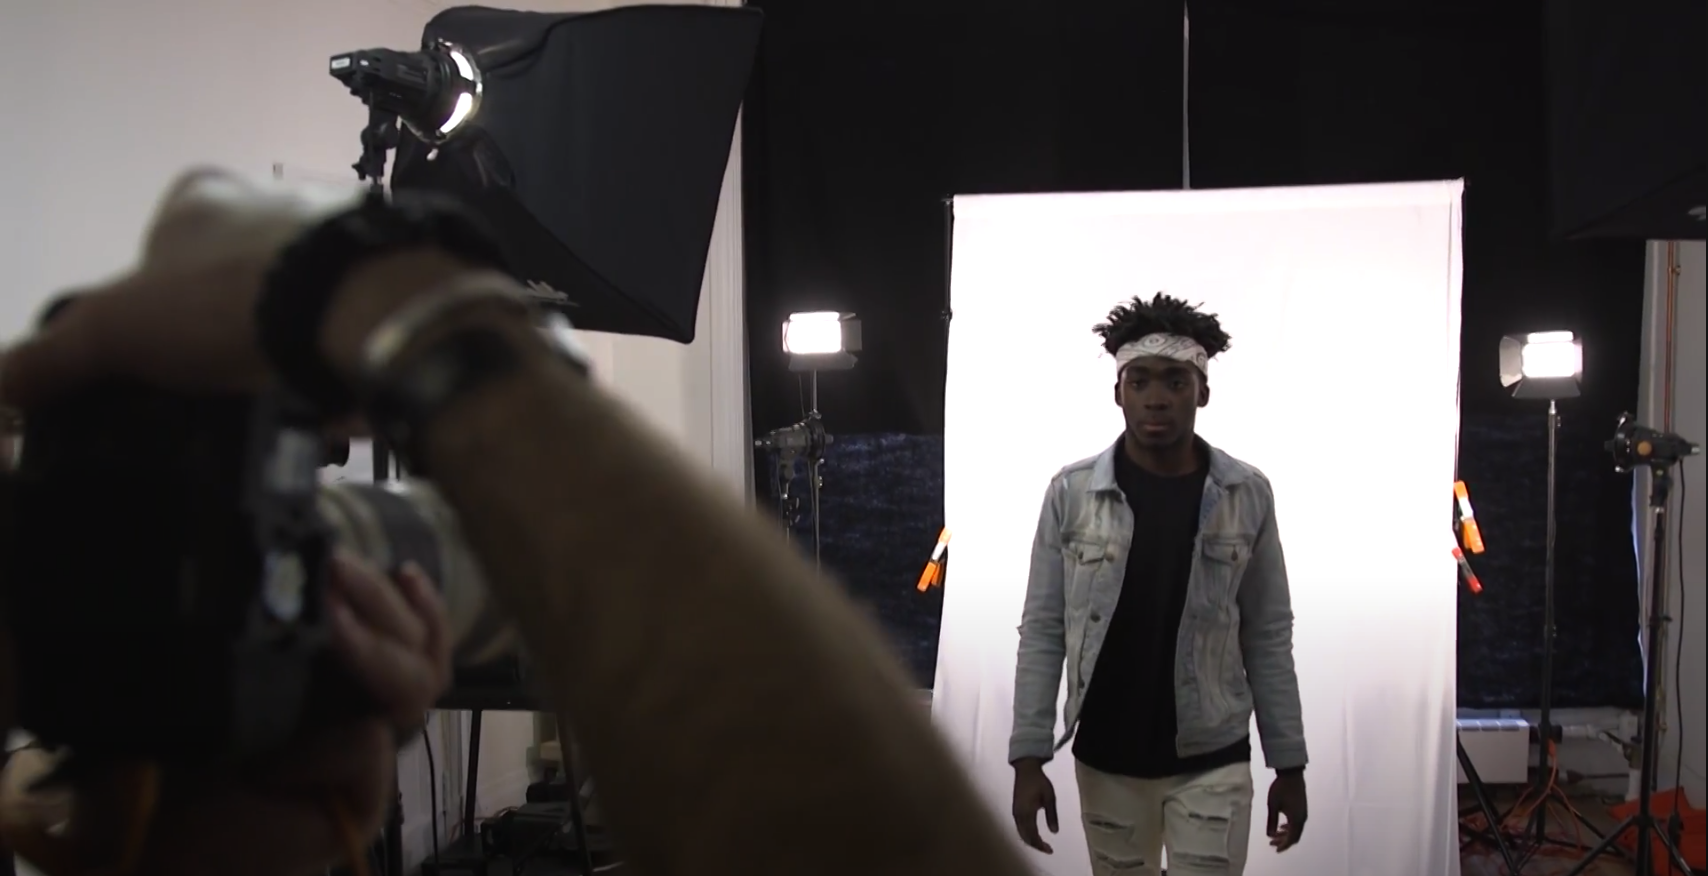
One basic lighting style is “soft” lighting. Soft lighting means that there is a lot of light, evenly spread out across a subject, and usually their surroundings. A good natural example of soft lighting would be a cloudy day, or a bright sunlit room. To achieve soft lighting, you usually want your key light just above your camera, or slightly off to the side. Your fill light should even out all the shadows, and create an even brightness on the whole subject. In this scenario you can use your back light to subtly add depth to your subject, or you can use it to light the background. This lighting style is great for light hearted, or happy material like weddings, senior portraits, or client testimonials.
Hard Light
In contrast to soft light, there is hard light. Hard light is when you add shadows to your subject to convey depth and drama. To achieve hard lighting, move your key light off to one side of the camera and higher up, so that the light comes down across your subject’s face. If you move the light too high, you’ll create a shadow over their eyes, but if you move it too low you’ll light up the bottom of their chin, nose, and eyebrows. This means it’s important to find the right height. Next, you want to either dim, diffuse, or turn off your key light so that the shadows are prominent. The shadows don’t need to be pitch black, but you want significant contrast between your highlights and shadows. For your back light you want to light up one side of your subject’s back, either to match the lighting from the front, or contrast it. Hard light is great for dramatic scenes or for a more “cinematic” look to your images.
Split Lighting
The next technique is split lighting. For split lighting you can remove your fill light entirely, and shift your key light so that it is 90 degrees from your subject’s face, lighting up only half of their face. This creates a really dramatic shadow, splitting their face into half light, and half dark. This lighting technique is useful for intense moments, or when you want to convey a character’s decision between two choices.

There are lots of different variations of these lighting techniques, along with many more styles that you can try, but this is a basic guide to get you started. Check out some of our own video and photo work to see how we light our projects. Additionally you can contact us for help with your own project.

Simple Sound Mixing For Video
When you’re making video content, the audio is just as important as the visuals. This means that even once you get to the editing room, there is still a lot of work left to do with your sound. If you’re new to video editing, or you’re just looking for advice to improve your audio mixing skills, here are some basic tips to get started.
When you’re making video content, the audio is just as important as the visuals. This means that even once you get to the editing room, there is still a lot of work left to do with your sound.

If you’re new to video editing, or you’re just looking for advice to improve your audio mixing skills, here are some basic tips to get started.
Room Tone
One important step to audio recording and mixing, is making sure you have sound for the background. Almost no space that you can record in is completely silent, so it’s important to make sure you capture that room tone. Once you’ve recorded room tone, you can either use that to set a background for your audio, or you can try to identify the room tone and silence it as much as possible.
Leveling
Once you have your recorded audio, it’s important to start identifying which sounds are important in your mix. Especially if you have separate audio tracks for different sounds in your shots, you can make important sound tracks louder, and less important ones quieter.
What’s important in sound mixing is that you want to have a variety of volumes and sounds. The more variety you can create, the more interesting and dynamic your sound mix can be. However, you should make your edits with a specific intention, not just for variety's sake. For example, you could bring out the music in a scene and drown out the other audio if your scene was taking place at a concert. This would simulate how loud the music would be for your characters.
Panning
Another way to add variety to your sound mix, is to include panning. This step is less important for videos on social media that people will just listen to on their phones. However, for bigger projects that might be played in theaters, or through studio headphones, panning is an effective tool. Panning allows you to channel sounds more towards the left or right speaker in a stereo sound setup.
In real life we hear sounds from different directions. By placing sounds in different “locations” in the mix, you can create more of a “realistic” listening experience. If a character in your scene is running down the street for example, and a bus passes by them on the left, you can mix your sound of a bus more towards the left so that it sounds more accurate to what we would experience as that character.
Dynamic Editing (Keyframes)
When you’re focusing on the leveling and panning of the sounds in your video, it’s important to remember to edit those sounds over time, and not just change them uniformly for the whole video. When you’re editing almost any aspect of a video, most video editing softwares have “key frames”.
These key frames allow you to change any setting a different amount at different times. This means that if you adjust the volume of a music track, you can make it quieter at the beginning, make it louder for a few seconds, and then make it quieter again. You should take advantage of this dynamic editing ability to craft a sound mix that makes sense for your video.

No matter how simple or complex your video project is, these general tips should help you focus on making more of a dynamic mix for your future videos.
If you have more questions, or want help with your own video or audio project, reach out to our Windwood team here. We’d be happy to help you with your project, no matter what step of the process you’re at!
4 Tips to Improve Your Handheld Filmmaking
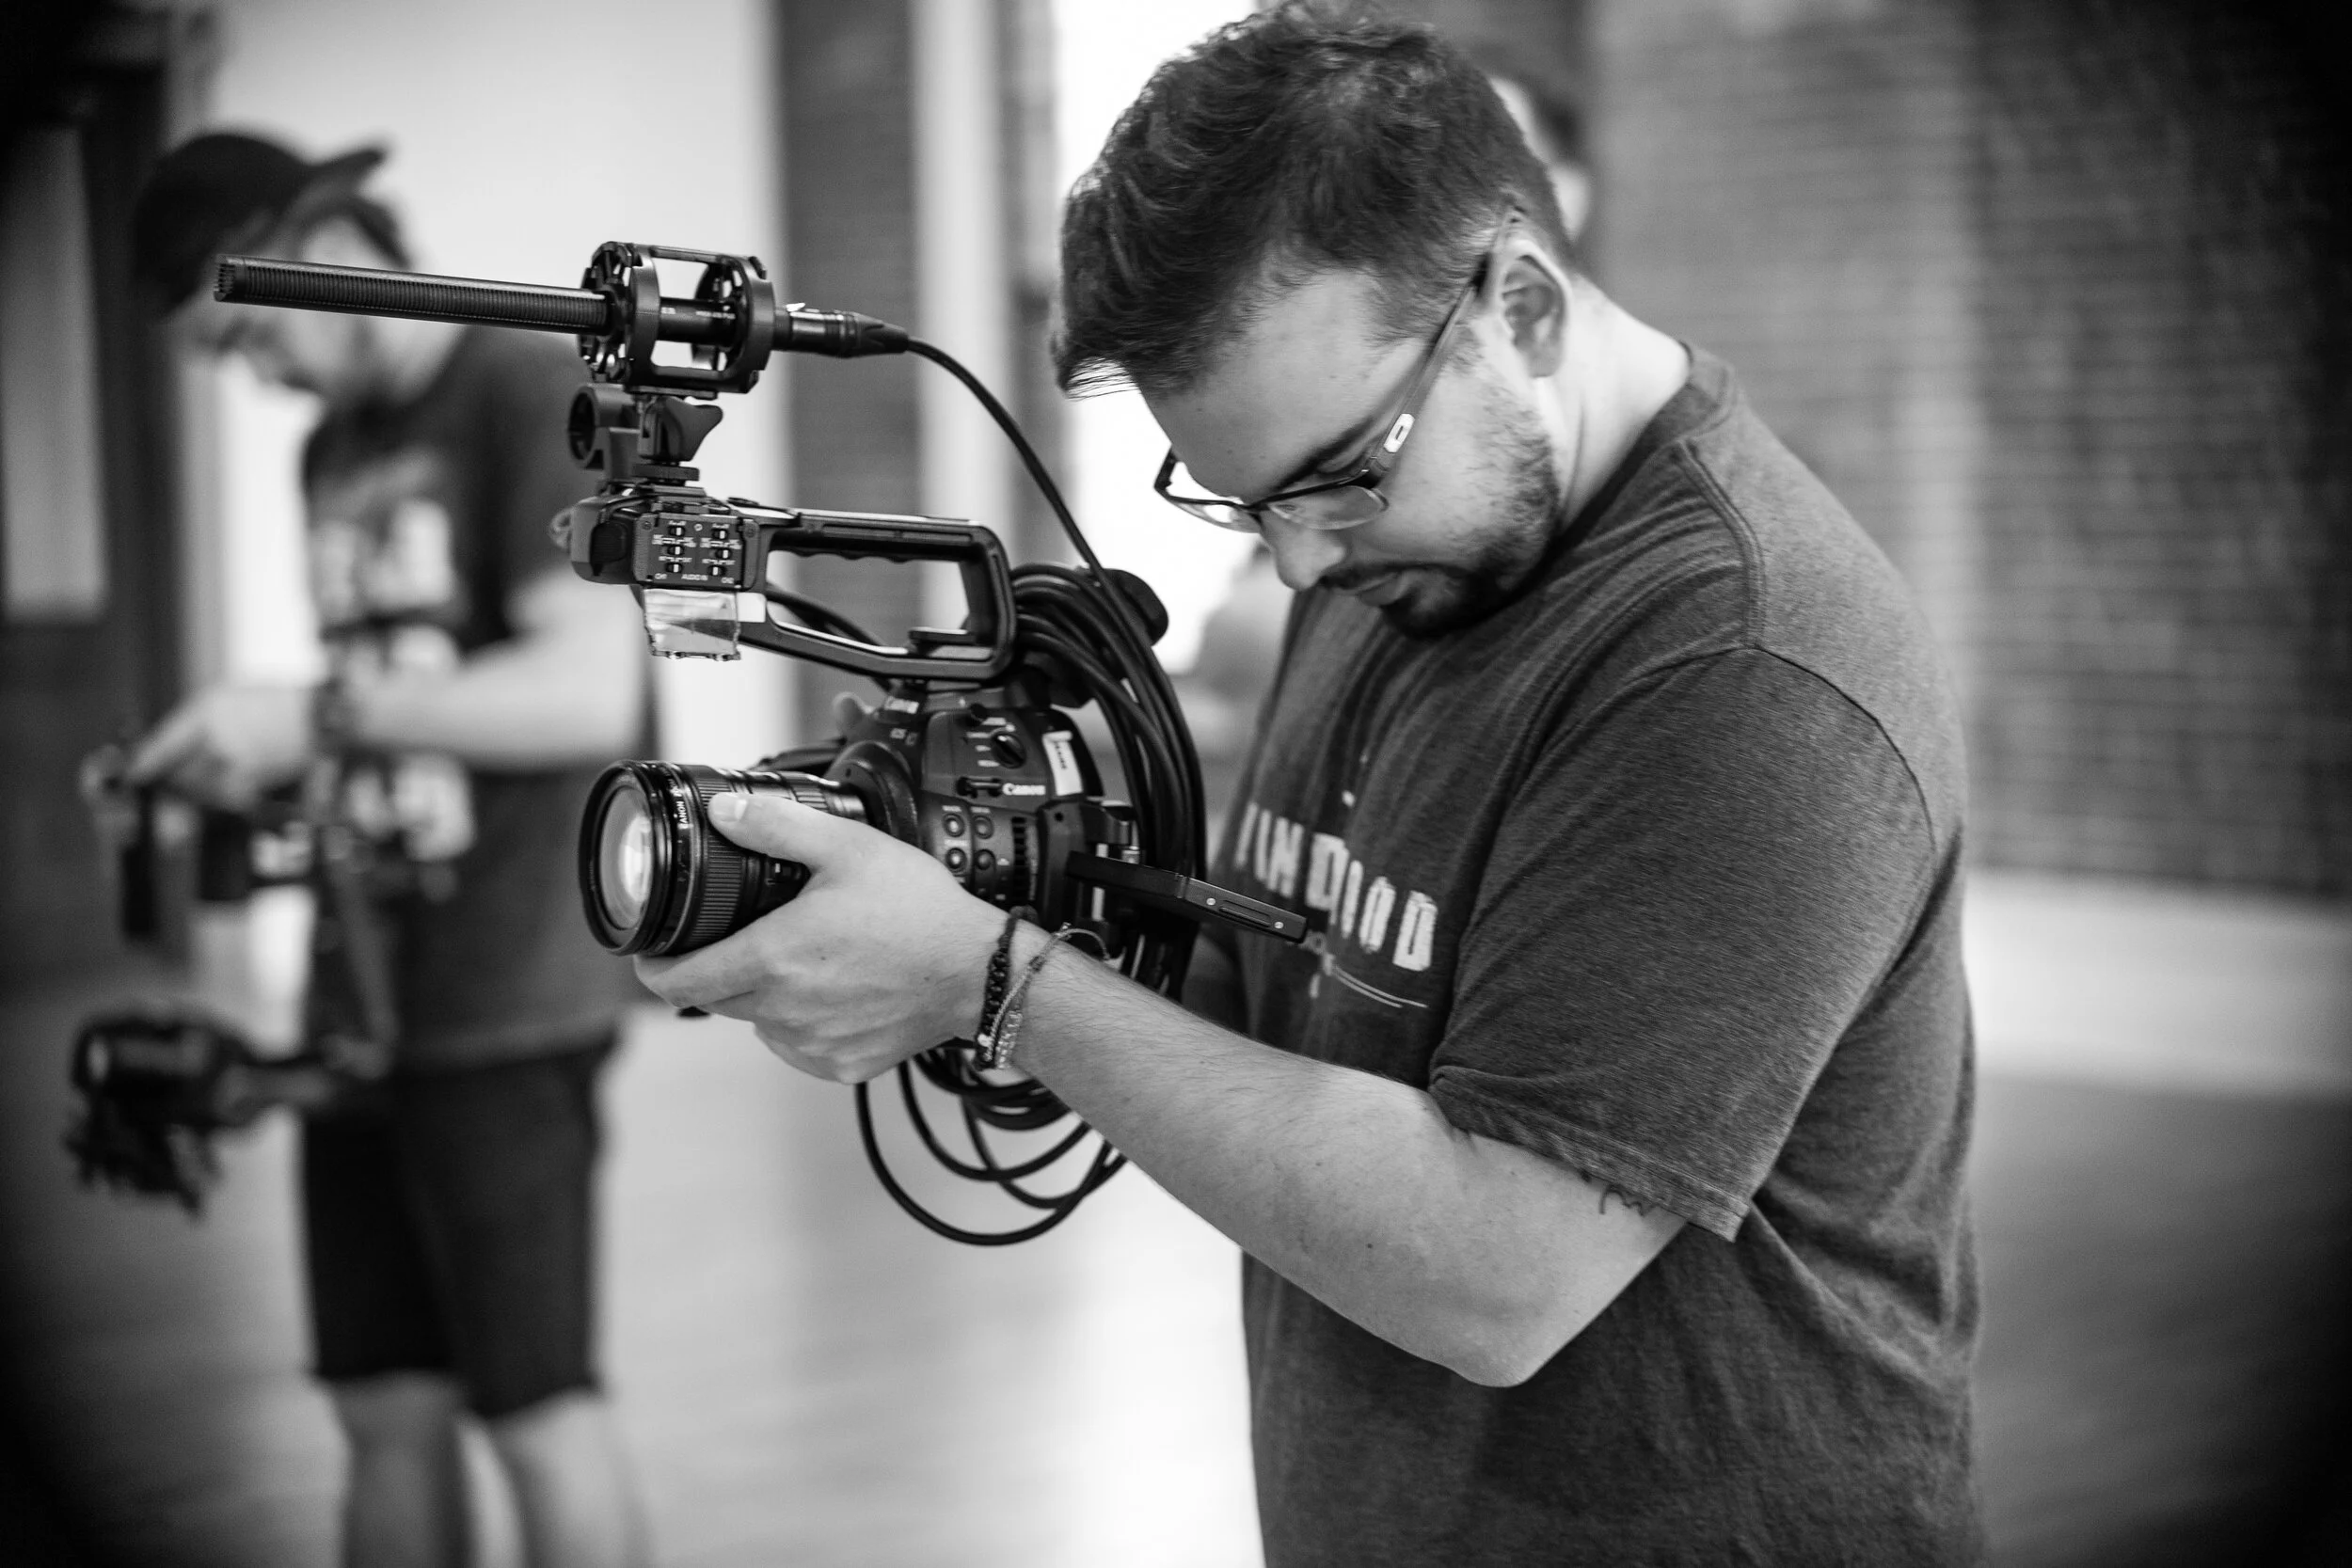
Shooting handheld on a camera is an essential tool to have as a filmmaker. Even if you have tripods, gimbals, sliders, or other stabilizing tools, handheld shots can create more natural motion than those other tools. Additionally, you might need to work on a project that requires you to shoot in tight spaces, where you really only have room for your hands and a camera. That’s why it is important to always be able to shoot handheld.

Shooting handheld on a camera is an essential tool to have as a filmmaker. Even if you have tripods, gimbals, sliders, or other stabilizing tools, handheld shots can create more natural motion than those other tools. Additionally, you might need to work on a project that requires you to shoot in tight spaces, where you really only have room for your hands and a camera. That’s why it is important to always be able to shoot handheld.
If you don’t feel comfortable shooting handheld on your camera, then here are some tips to get you started.
Internal Settings
Before you start shooting in general, and especially handheld, you want to make sure you have all your internal camera settings dialed. One of those important choices is choosing what format and frame rate to shoot at. Depending on the video, we generally recommend shooting high resolution at higher frame rates for handheld like 60fps. This will require a lot of memory space, but you can always slow down your shots in post to get smoother movement when you shoot at higher frame rates.
Additionally, most newer cameras have different kinds of internal stabilization, and it’s important to be deliberate about when you use it. Most internal stabilization settings are great for static shots without much movement. This means internal stabilization is great for shots where you’re standing still with the camera or following a slow deliberate path of movement. However, if you’re going to be filming shots with lots of movement, then you want to turn internal stabilization off in your camera to avoid any image distortion.
Camera Lenses
Another important aspect of shooting handheld videos is knowing what lenses to use with your camera. Because you’re more likely to have small shakes and subtle movements when shooting handheld, you want to use a wider angle lens to hide these micro-movements. We suggest trying out different lenses and finding what works best for you, but we find it’s helpful to stick to lenses 35mm or wider. The only downside to this is that you usually need to get much closer to your subject for tighter shots, but because you’re shooting handheld, you should hopefully be able to do this without much problem.
Grip and Support
Once you have your camera settings and lenses ready, you need to get comfortable actually holding and supporting your camera. We recommend placing one hand on the actual grip of the camera and then your other hand underneath the lens. Depending on the camera, you can also brace it against one of your arms or your chest for even stronger support. If none of these options work for you, you can also purchase a cage for your camera with additional grips.
Decisive Movements
The last step is to plan out decisive camera movements for all of your shots. This doesn’t mean you need your camera to be moving in every single shot, but rather that you should plan and choose what kinds of movements you’re going to do. If you want one shot to be stationary, then be stationary. If you want a pan or tilt, then plan a pan or tilt. Because you’re working handheld you need to be confident with your movements, and often move your whole body to get smooth shots.
Now the best thing you can do is go out there and actually practice. Get used to using your camera and experimenting with different techniques. You want to be ready so that on your important shooting days, you’re prepared and confident with your camera.
If you’re still confused, check out some of our work for examples, or contact us for help with your own project.

What is Micropillaring?
Micro pillaring, or creating “micro” content, is cutting down your longer form “pillar” content into shorter, more easily accessible content for social media. This could mean cutting 20-30 second clips from a 3 minute video and sharing those clips across various social media platforms, or pulling quotes from a recent article or blog that you posted.
Micro pillaring, or creating “micro” content, is cutting down your longer form “pillar” content into shorter, more easily accessible content for social media. This could mean cutting 20-30 second clips from a 3 minute video and sharing those clips across various social media platforms, or pulling quotes from a recent article or blog that you posted.
When you’re looking to advertise yourself or business to a larger audience, often on social media, you want to be able to efficiently engage your potential audience and show them what your business is about.
On average, people use social media up to 135 minutes a day (Statista The Statistics Portal). Thus, using social media to market your content is the fastest way to reach people as they scroll through their feed. From there you can link the whole video and find your audience who is interested in what you do.
Creating “Micro” Content
Make “pillar” content
Before you start making any micro content, it’s important to remember what your business’ goals are, and what kind of content you usually strive to create. You want to continue to make this, often longer form, “pillar” content. The goal is not to change your content, but adapt what you already make into smaller pieces for social media.
Break it down
Once you have some longer form content that you want to use to advertise your business, it’s time to break it down into smaller pieces. Take your time with this process, and really try to narrow down your content into pieces that, while small, still reflect your business’ purpose and values. If it’s a piece of writing, find a few quotes that stand out, if it’s a video, pick the most important narrative moments and transitions.
Keep it short
Keep the clips short. Shorter videos have a higher completion rate than longer videos and our brains are better able to hold quick bits of information rather than long, detailed content. If they like your content, then they can follow you and eventually see your long form material.
Mix it up
Once you’ve mastered taking your long form content and breaking it into smaller pieces to advertise on social media, now you can take it one step further. The last step is to diversify your social media accounts and post slightly different content in different places. Different social media platforms are better for different kinds of media, so adapt your content to each platform. On Twitter you can post quotes from articles or your clients and include links to videos. On Instagram however, you can directly post a 20-30 second “highlight reel” of video material, or share a few stellar photos from a recent event or video shoot.
Now that you have the tools, it’s time to start making your own micro content. Take one piece of content you have and derive something else from it. If you have a blog, take a photo that relates to it. If you have a photo that you’ve shared on facebook, change up the dimensions and share it to instagram.
Just have fun with it and find what works best for you and your business. If you need ideas, check out our website for examples.
Coronavirus Update
We are storytellers. Our work relies on the trust of our clients, our work relies on the connectivity of our community to support us. We hope to continue that trust, and continue that connectivity in the future - and for now that means distance.
The health of our team, families, clients, and friends has always been our top priority.
We are storytellers. Our work relies on the trust of our clients, our work relies on the connectivity of our community to support us. We hope to continue that trust, and continue that connectivity in the future - and for now that means distance.

One of the key words that keeps popping up is “pivoting” during these times of hardship.
At our core, our mission has always been to tell great stories, with great people. We will never pivot from that. We will further that mission through the avenues we have been working on building outside of video production over the last several years. We will double down on our ability to storytell for companies through website building, content writing, and graphic design.
We are fortunate to have had a community surrounding us and lifting us up for 2 years now.
For as long as it is safe to do so, we have one person still in the Windwood studio who is providing photo and video for small businesses who have had to shift to ecommerce overnight. At this time we are not and will not be charging for these services. Please reach out if you are a Concord business who sells a physical product and needs a product photo, or video.
We don’t know what the future will look like for us, but we will stay the course, and for as long as we can we will continue to be thankful for everyone who has, and continues to put their trust in us. We will continue to tell great stories, with great people.
Hope to see you soon,
Brett and the Windwood Team
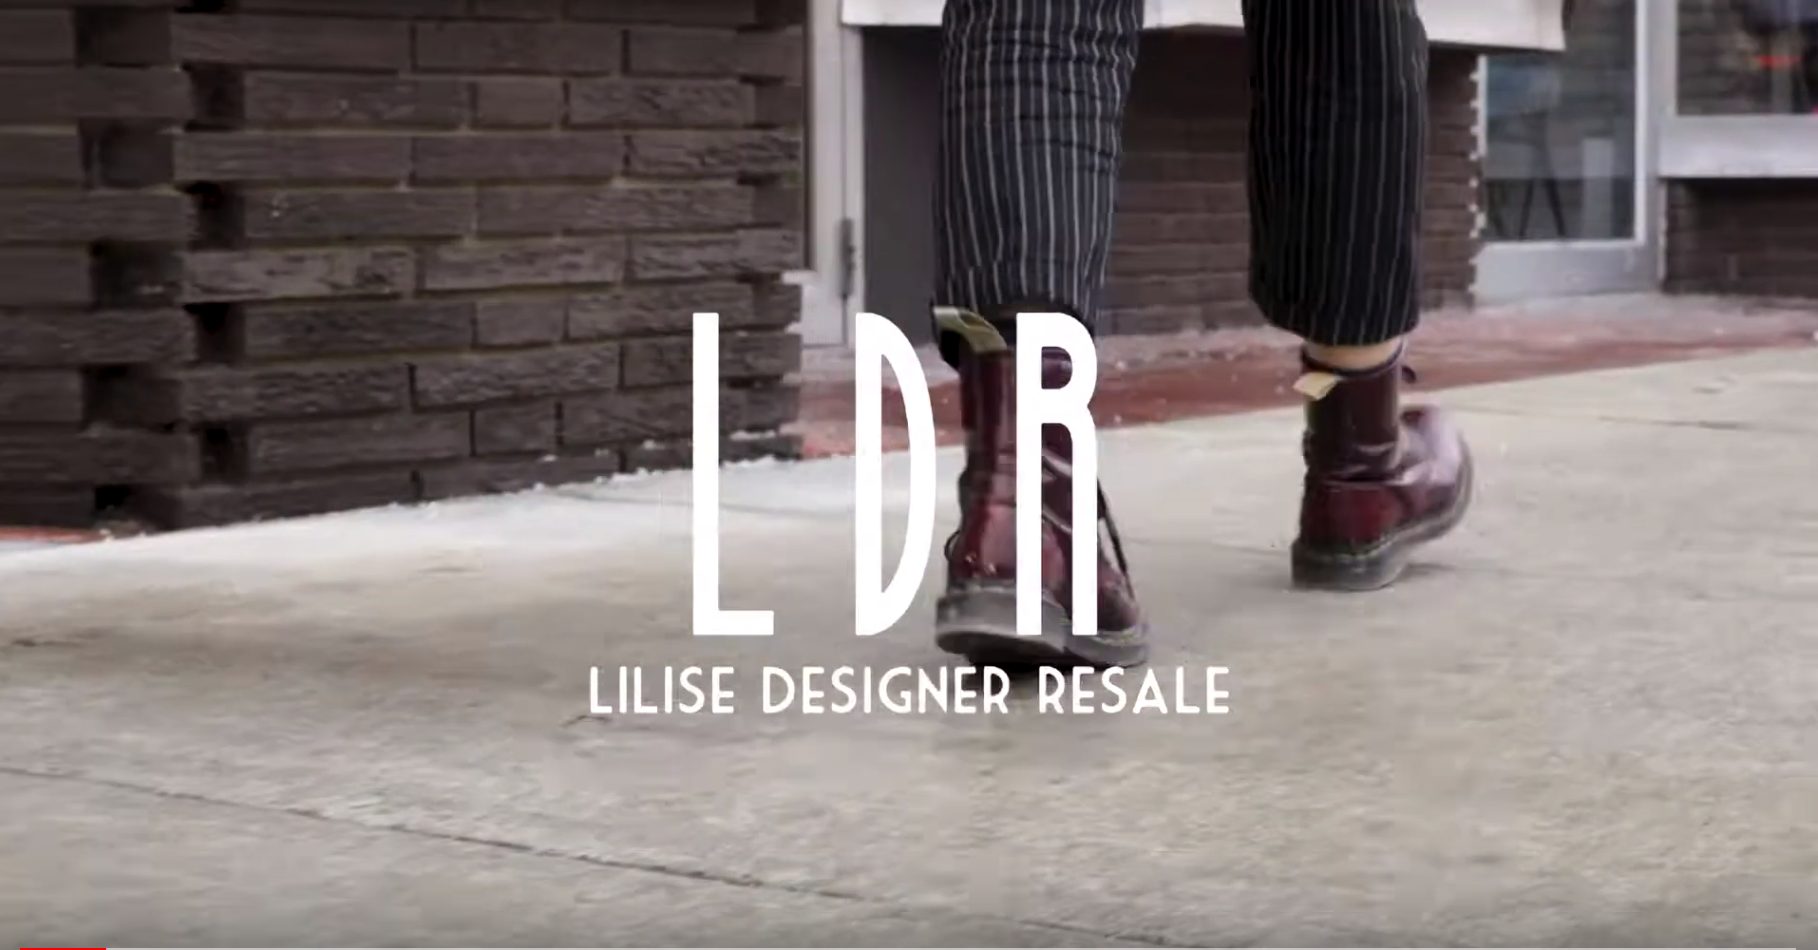
Lilise Designer Resale
As a small video production and marketing business, we understand that there are going to be things that blindside us. Weather damage, equipment lost, equipment breaking. We try to prepare for these as well as we can, but if and when they do happen - they can be absolutely devastating.
As a small video production and marketing business, we understand that there are going to be things that blindside us. Weather damage, equipment lost, equipment breaking. We try to prepare for these as well as we can, but if and when they do happen - they can be absolutely devastating.
We always try to think of Windwood as more than just a company. It sounds cheesy but when we work with our team, or clients, or engage in our community we truly believe that we are just bringing more people into our group of friends and family.
Last year we met Elyssa Alfieri when we were doing a small business profile of her consignment shop, Lilise Designer Resale for a Visit Concord blog. She was willing to take time out of her day to let us come in and basically stop her shop from operating for 2 hours. She was so kind, welcoming, and open with her space and time. A new friend for our group.
When we heard about the flooding that occurred at Lilise Designer Resale, we couldn’t imagine the same thing happening in our little studio. It wouldn’t be a blindside, it would grind the gears to a halt.
When we saw that Elyssa relocated onto main street while the damage done to her store was being fixed we had a thought. Rather than bringing lasagna, or a we’re sorry card, we could maybe bring some awareness. Something that we’re actually not terrible at doing.
Here’s the 30 second ad we created to help notify her customers of her new location. Where it was on main street, and a little taste of what you could expect from the awesome finds at Lilise.
“Thankfully, none of us were in the store when it happened and I only lost about 10% of my merchandise” Elyssa told us with a smile on her face as she bounced baby Enzo on her knee.
There is such a close knit community here. We know whether we are running out to grab snacks from Sherry at CVS or coffee from Alex and Lindsay at Revelstoke, we will always run into someone that we consider part of our group. If you haven’t had a second to swing into Lilise’s temporary storefront to say hi to Elyssa and Enzo (if he’s not sleeping) maybe now is the time to make some new friends!
- The Windwood team

Yankee Farmer's Market
With the world's most appropriate name, Brian Farmer has run Yankee Farmer's Market for the past 20 years. His interest and appreciation for Agriculture in college led him to become something that not many people in New Hampshire are too aware we even have in our state - a buffalo farmer.

Brian Farmer of Yankee Farmer's Market with a herd of Scottish Highland Cows in Stoddard, New Hampshire
With the world's most appropriate name, Brian Farmer has run Yankee Farmer's Market for the past 20 years. His interest and appreciation for Agriculture in college led him to become something that not many people in New Hampshire are too aware we even have in our state - a buffalo farmer.
I'll admit that I was a bit surprised to learn that not a half hour away from our studio in Concord, New Hampshire, there was a herd of 40 head of buffalo. In meeting with Brian the first time, he seemed genuinely excited to show me his business and what he was working with. Not only do they run a farm, but YFM also has a small produce store, so you can actually walk in, and interact with Brian, or Erik, or one of the other close-knit employees (family) of the store who happen to be working that day.
We spent a day filming at Yankee Farmer's Market, and Brian's other location "Pitcher Mountain Farm" in Stoddard with the idea of not just connecting the audience to the business, but showing them who Brian is, and what his life is like. How he interacts with the animals (We may or may not have heard him say a chipper "good morning Ladies" to a heard of Scottish Highland cows at another farm location). We wanted to utilize as much naturally captured audio as possible to give you the feel of the clanking fence chains, the birds chirping, the animals stomping through the grass. We got an interview with Brian and probed a bit on what got him started, and why agriculture is so important today.
- Brett Marshall
Production notes: Filmed on a Canon C100MKII (Actually filmed on 2 of them, we lost one due to a blown circuit when connecting the audio input) and a Canon XC10 on a Ronin-M. Audio taken with a Zoom H4n, for interview a Sennehiser ew100 g3.
Production Lead - Brett Marshall
Camera assist - Jared Mostue
Aerial - PIC Brett Marshall Cam Sam Mostue
Lead Editor - Katherine Kittler
Coordinator/Agency - Abby Peel for Strategic Social Media

3 Ways Corporate Testimonials Boost Business
The customer review is the most powerful tool that any business can use to influence the views of potential consumers. You see the 0 - 5 star reviews on all the major online retailers for each of the products listed.
1. THE POWER OF VIDEO TESTIMONIALS
The customer review is the most powerful tool that any business can use to influence the views of potential consumers. You see the 0 - 5 star reviews on all the major online retailers for each of the products listed. I for one won't seriously consider a product without a review of at least 4 stars. Word of mouth has been and continues to be one of the best ways a product gains popularity. The online review is the new word of mouth. Look no further for the most effective kind of review - the video testimonial.
2. VIDEO TESTIMONIALS EQUAL AUTHENTICITY
“91% OF CONSUMERS HAVE WATCHED A VIDEO TO LEARN ABOUT A PRODUCT OR SERVICE”
While written testimonials can be perceived with high authenticity, putting a face to a name and hearing their voice say their words, can come across significantly more authentic. This is due to the viewers ability to hear and see the speakers voice inflections and their enthusiasm toward a business or product. This gives the video testimonial additional credibility and helps to foster the relationship between the company and their target customers.
3. Spread through Social Media
Social media has now moved toward being optimized for video content. Videos are receiving more views, likes, comments, and shares than text and image posts. Facebook, Twitter, and others encourage reactions and comments on videos; interacting with them online will create a stronger relationship between company and customer.
Whether on location or in our studio, we have the equipment and expertise to produce highly engaging testimonial videos. From setting up the camera(s) to the final editing, everything is meticulously planned out to make the most of your time in front of the camera.
You can even film an interview style testimonial, so your clients and customers can get to know who they will be working with.

3 reasons to film your company's Frequently Asked Questions
This simple solution can save time and money for your customer support and sales team, build brand exposure and make sure your customers have the best possible experience with your product or service.
This simple solution can save time and money for your customer support and sales team, build brand exposure and make sure your customers have the best possible experience with your product or service.
1. Filming your frequently asked questions can drastically save time.
If you're a team of one, and you find yourself constantly having to re-explain what services you offer, or how your service works, imagine only having to explain it once, and being able to forward that explanation to anyone who asks, rather than re-typing the explanation. Now if you're a company with hundreds, and you find your customer support team constantly repeating themselves, imagine the time that your team would save to actually help customers if one carefully crafted video was in place for each pain point that your customers are experiencing.
2. Build a relationship
It's pretty obvious that your company's best asset is its people, so why hide them behind a wall of text (I understand the irony of writing to explain that). Seriously though, instead of having a stock photo of people shaking hands as your FAQ cover image, a potential customer clicks on your FAQ page and is greeted with your team, explaining your product perfectly. They will immediately have a face to an explanation, and then if they have further questions they will know exactly who they were talking to. That first personal handshake will be enough to differentiate your company by letting your customers know who they are working with.
“51% of marketing professionals worldwide name video as the type of content with the best ROI.”
3. Show, and Tell - Increase your customer experience with your product
If your product is new and novel, or has been around for a while and needs some explanation, why not be the source of that explanation? You are your products best advocate, you know how it is best used, and you know how it should look when your customer uses it. Whether it's a new feature in your app, or building a physical product out of the box, shouldn't you be the person who shows customers how to use it best? Now your customers will have the best possible information when it comes to using your product, and their experience with it in the future will be maximized because you showed them how to use it!
Windwood's video professionals have been turning the best of marketing strategies into the best of web-facing video for years. Contact us below for more information!