WIND BLOG
Our view in 24 frames

The Art of Adaptation - 3 Tips to Overcome Obstacles
You can plan something, anything- a shoot, a meeting, even a simple lunch date- well in advance and still have hiccups occur when it comes time to put it into action.
Nothing ever goes as planned- plan for that.
You can plan something, anything- a shoot, a meeting, even a simple lunch date- well in advance and still have hiccups occur when it comes time to put it into action. Regardless of how thorough you are in your planning, there is always room for something to go off track. It’s easy to let this worry consume your mind and get caught up in the “what-ifs”, but recognizing that mistakes are inevitable is crucial in overcoming them and getting your project back on the right track. Here are a few tips on how to deal with obstacles as you encounter them.
1. “Yes, and…” This is the golden rule of improvisation. What this essentially means is to accept any and all challenges that are thrown at you with open arms, and work with your partner or partners in a project to build upon it. To say “no” or “but”, to shoot down or deny anything that is thrown at you, slows down progress and helps nobody. It’s important to grit your teeth and work with what you have.
2. Make your partner(s) look good. Teamwork is essential to any project, and as you probably already know, there is no “I” in “team”. When you are operating a project with a team, you are no longer just an individual, but a crucial mechanism in a larger machine. If things go wrong, act as a team! Don’t spend time putting someone else down.
3. Reflection and Future Growth. Any feedback, criticism, or reflection that may come up during a project should be brought up again once it ends, and this reflection period can be where you determine what to include or cut out during your next project. Reflecting on the high and lows of your project allows for everyone to understand and celebrate what went well, as well as recognize what didn’t go so well and understand how to prevent those hiccups in the future.
If you browse through some of our older blog posts (such as this one on shooting outside in natural lighting and this one on interviewing subjects), you will quickly see that regardless of all the tips we can share with you based on our own experiences during the production process, we frequently advise adaptation as something to embrace. No two shoots are the same, and even with the information we provide, you will inevitably run into something unexpected that you don’t have time to reach out and ask about. However, if you do have questions, feel free to reach out to us here- we are happy to help you on your project however we can!

Marketing Your Product: What Video Can Do For Your Brand
Video can attract a potential new customer, then quickly address the questions they have that you seek to answer- perhaps questions they didn’t even know they had.
When you have a product, a service, or anything else you are trying to market, video is a highly effective means of communicating your information to the world.
Though video is just one medium amongst dozens, just look at some of these statistics from Wyzowl.com on how it is miles ahead of the rest:
96% of people have watched a video on a product or service’s website learn more about said product or service.
When it comes to the COVID-19 pandemic, 91% of marketers believe that video has become a more important marketing tool than ever before.
In addition, a graphic from Hubspot.com revealed that 54% of consumers would want to see a video over other types of content from a brand or business they supported.
Clearly, these numbers show that video is a quickly-risen, top rank tool that is here to stay. But what else can video do for your brand?
Draw in new customers. Visuals, music, and other factors attract people and keep them drawn in as they learn about your mission. A thirty second video on Instagram is easy for people to watch, and when done effectively, they will still remember the information you want them to have even as they scroll away. Not everyone has the time or desire to scroll through a wall of text reading up about a product, especially if there are no visuals to accompany it. Video can attract a potential new customer, then quickly address the questions they have that you seek to answer- perhaps questions they didn’t even know they had- before their attention span runs short. If especially intrigued by your video, they will be more likely to check out your website or social media page to learn more. Even if they don’t need your service immediately, they will remember you if they do in the future.
Let you choose how your brand is perceived. Video comes with many forms that allow for your message to be communicated in the way you desire. With video, you have the ability to select the information you feel is crucial for your audiences to understand and communicate it in a condensed period of time. A testimonial video may introduce your viewer to someone just like them, who experienced a problem or question they have currently or have had before, and show how you were able to help them. Using real people in your video, whether this be past customers or current employees, can humanize your brand. People want these personable connections, want to feel connected to a brand beyond the relationship of buyer and seller. If you know your target audience, you can further personalize your video to cater to what they would want to see.
Educate like never before. When people are learning about something new, information is more easily grasped when it’s coming from another person. Video allows all the data, visuals, and explanations that one may need to fully conceptualize your product. This can be graphics that are relevant to your brand, or perhaps your logo. Learning about the service your product provides feels more conversational when watching it in a video, rather than the loneliness that accompanies simply reading the same information. Video can also introduce employees that customers may encounter when they come to work with you. The more personable you can make this education process, the better.
If you have any further questions on video marketing or creating a video for your product, you can contact us here for any assistance you may need!

The Difference Between Commercial and Editorial Style Work
As a filmmaker or photographer, if you’re working with different kinds of clients and talent, it’s important to understand the difference between commercial and editorial style work. You want to know the difference so that you can approach each kind of project differently in ways that are appropriate for the work.
As a filmmaker or photographer, if you’re working with different kinds of clients and talent, it’s important to understand the difference between commercial and editorial style work. You want to know the difference so that you can approach each kind of project differently in ways that are appropriate for the work.
Editorial
Background
In editorial style film and photography work, the projects are usually much more about the experience and the authenticity of the events you’re shooting. The goal with this kind of work is to capture an event, place, or adventure accurately and creatively, to display your subject in an honest and new way.
Even if you’re working with a business, you could still be working on more editorial style work if the focus is on authenticity and capturing what’s happening.
Tips
For these kinds of projects it’s especially important to do your research ahead of time to know what aspects of your subject you want to capture. This way you can make sure to get yourself in the right position, at the right time to photograph or film what’s happening.
If you’re shooting a live event for example, it’s important to know the layout of the space, the schedule of performers or activities, and what key moments you should be in place to capture. In addition to all this preparation, for these kinds of shoots you should also be constantly ready to adapt and reposition yourself to capture something unexpected.
You’re not going to be able to capture every moment, but you want to coordinate with your team and your client so that you can capture the most important moments to be able to craft a compelling project and story.

Commercial
Background
Commercial work is more focused on crafting specific kinds of images for a client, business, or brand. In commercial work, you want to communicate with the business you’re working with and know exactly what story they’re looking to tell and craft for their image.
The important part of commercial work is connecting to the company’s brand identity and personality. You’re working with the client to construct the narrative that will work best. In a sense, it’s like you're creating video or photos that are “based on a true story”, as opposed to documenting things as they happen.You still want to stay true to the company and the people involved, but the whole team has more control over crafting the creative vision and adjusting events as they happen.
Tips
Similar to editorial work, you still want to do your research when working on commercial style work. Instead of researching the event, subject, or activity, you instead want to focus on researching the business you’re working with, the style of campaign/project you’re discussing, and what similar kinds of work have been done before.
In commercial style work you want to determine how you can best convey the business’ image with the video or photo project you’re working on. You should work with your creative team, and the business, to plan a project shoot that will fit with their brand.
On the days of your shoot, you still need to be ready to adapt, like with editorial work, but in different ways. On a commercial shoot, don’t be afraid to manipulate the situation to create a better product. If you’re filming a promotional video for a coffee shop for example, and you’re shooting one of the barista’s pouring a cup of coffee, ask them to pour it in different ways, do multiple takes, and reposition them until you get the shot you want.
In the growing digital age we live in, images, both still and moving, are more and more important for all kinds of work. Whether you’re working on editorial, commercial, or other styles of work, just remember to communicate with your clients about what visions they have so you can work together to make engaging projects that are appropriate for each situation.
At Windwood, we make all different kinds of work and do our best to tailor our style to match the visions of our clients. If you want examples of the kinds of work we’ve done, check out our work here. If you want help with your own project, you can contact us here.

How to Get Your Drone License
One growing part of the video production world is drone photography and videography. Whether you want to fly a drone for recreation, or for commercial purposes, it’s required that you register your drone. Additionally if you plan on flying commercially, you also need to get a drone pilot license. The registration and licensing processes are listed out on the Federal Aviation Association website (FAA), but it can be confusing if you’re new to the process. However, we made a simplified guide to help you out.
One growing part of the video production world is drone photography and videography. Whether you want to fly a drone for recreation, or for commercial purposes, it’s required that you register your drone. Additionally if you plan on flying commercially, you also need to get a drone pilot license.
The registration and licensing processes are listed out on the Federal Aviation Association website (FAA), but it can be confusing if you’re new to the process. However, we made a simplified guide to help you out.
Before you get started, there are some general restrictions that the (FAA) has put in place in order to be a registered drone pilot.
Pilot Restrictions
Must be 16 years or older
Be able to read, speak, write, and understand English
Be in a physical and mental condition to safely fly a drone
Pass the initial aeronautical knowledge exam
If you meet the first three requirements, then you can proceed to the actual licensing process.
Step 1: Register
The first step is just to register, and create a profile with the Integrated Airman Certification and Rating Application. This will enable you to get an FAA tracking number as well. You need to do this so that you can register for an exam to get your drone license.
Step 2: Schedule an Exam
Once you’re all registered and you have an FAA tracking number, you can sign up for a time to take the exam at your nearest exam center. You can check out the website here to find a testing center close to you, and register for an exam time. Make sure you sign up for the “Unmanned Aircraft General” (UAG) exam. Also make sure you bring a government-issued photo ID with you to the exam.
Step 3: Study for and Pass the Exam
The next step is to prepare for the exam. There are lots of online courses and study guides to help you out. There are free options like the official FAA study guide pdf, and paid courses (both books and videos) that you can find online. There are lots of free options out there, so we recommend finding the best cost free option for you (whether that’s the FAA pdf, or a course on YouTube).
Step 4: Send a Certificate Request
Once you’ve passed your exam, now you need to send a request form to get your actual pilot certificate. You’re going to go back to the IACRA website where you first created your account, and create a new application for a “remote pilot”. You’re going to need to fill out a 17-digit confirmation number from your test results, so you’ll need to wait to register until that number appears in your IACRA account.
Step 5: Wait for Confirmation
After you request your pilot certificate, the TSA will conduct a security background check. You should get a confirmation email when that check is complete. That confirmation email will also send you a temporary pilot certificate that you can use to start flying your drone. Then in anywhere from a couple weeks to a couple months, you should receive your physical pilot certificate in the mail.
Step 7: Register Your Drone
Before you finally get to flying your drone, you also want to make sure you register your drone. Head to the FAA website here to register your drone so you can finally start flying!
Step 8: Fly Your Drone
Now that you have your pilot certificate and you’ve registered your drone, now you can go out and actually fly it! Remember to look up drone regulations wherever you’re going to be flying, so you know what additional permits you might need to fly in certain areas. Also remember to bring your pilot certificate with you when you fly. When you first get started, go to a big open space where you can practice flying and get used to different maneuvers. Then once you’re comfortable you can try flying in tighter spaces so that you’re ready for anything on your video or photo shoots.

While this process might seem daunting at first, it’s important to be an informed and aware drone pilot. This registration and testing process will hopefully give you the knowledge you need to be able to go out and fly your drone safely in any appropriate situation. Take it step by step, and before you know it you’ll be getting beautiful footage from the sky!
If you want help with your own project, or want a drone photographer or videographer, check out our own drone work and contact us about your project!

Promoting Your Business: Different Kinds of Video Content
You have a business and you’re looking to promote it with some video content, but you’re not sure what kind of video you want to create. There are all kinds of video styles, and lengths, but you want to choose whatever is best for your particular situation and business.
You have a business and you’re looking to promote it with some video content, but you’re not sure what kind of video you want to create. There are all kinds of video styles, and lengths, but you want to choose whatever is best for your particular situation and business.
Here are some different styles of videos that might suit your business:

One video option you have is creating a corporate, interview style promotional video. If you’re looking to just create a broad promotional video that encompasses the big ideas behind your business, this could be the right option for you.
These videos usually involve interviews with business owners, employees, or trusted customers that understand not just your business, but the greater community behind it. You can mix these interviews with footage of your business actually running and functioning to give potential customers a picture of what it would be like to be a part of your community.
Commercial style videos range more in terms of the types of content and style. You can create product videos that highlight the aesthetic or functionality of a new item you’ve released, you can stage a narrative video related to your business, or you can promote an event or campaign that your business is taking part in.
Commercial videos don’t need to talk directly about your business or products, but can serve as creative ways of engaging your community and drawing more interest.
Another type of video approach is a simple video testimonial. If you’re not looking for anything particularly fancy and you just want to have video content that promotes your business, you can always sit down with a trusted customer and interview them about why they like your business.
Video testimonials are usually different from corporate style videos because they’re more like positive customer reviews. For more on video testimonials, check out our blog post.

No matter what your business is, there are all different approaches to creating video content surrounding it. If none of these video styles speak to you, get creative. As long as you have the resources, you can always try to experiment with new ways of promoting your business.
If you want to see any examples, check out our video production pages. Additionally, if you have any questions, or need help with your own project, contact us here!

Camera Stabilization: Tripods, monopods, gimbals, and more
Whether you’re looking to place your camera on a stationary object like a tripod, or you’re looking to capture lot’s of dynamic movement with a stabilizer, there are things you should know to get the best quality out of your camera equipment. Each piece of equipment is a specialized tool designed for specific jobs. This means you want to know how to approach using each tool, so that you can pick the right ones for your next video shoot.
Whether you’re looking to place your camera on a stationary object like a tripod, or you’re looking to capture lot’s of dynamic movement with a stabilizer, there are things you should know to get the best quality out of your camera equipment.
Each piece of equipment is a specialized tool designed for specific jobs. This means you want to know how to approach using each tool, so that you can pick the right ones for your next video shoot.
Tripod
First up is the tripod. Arguably one of the “simplest” of camera tools, the tripod has three legs with adjustable heights that allows you to secure your camera at a fixed height and location. While it’s easy enough to just set your camera on a tripod and hit record, you can get more out of using your tripod if you plan ahead.
Before you start filming you should ask yourself why you’re filming with a tripod and what that will add to your scene. Maybe you’re filming a talking head interview and you want a static, well composed shot of your interview subject. In that case you want to place your tripod at a height where your camera will be right around eye level. This will put your viewer level with your subject, making it easier to relate to them. Additionally you can use your tripod for low, or high angle shots for different emotional effects.
Tripods are also good tools for slow pans or tilts. Most tripods allow you to loosen or tighten different joints for smooth movement. Higher quality tripods also add measures of drag or resistance so you can adjust how easy it is to pan or tilt the camera to get the smoothest motions. Before you start filming though, we recommend practicing with your tripod and finding what adjustments you need to make so that you are most comfortable once you actually start shooting.
Monopod
Monopods, while typically more for photography than videography, can still be a useful tool. Generally monopods are great for stationary shots when you want to have a little more movement to give a feeling of the camera being handheld. Monopods are also very light and mobile, so they are a great tool for any long shoot where you need to be able to be very mobile. This might be the right tool if you’re shooting a live event like a concert or a wedding and want some additional stabilization to your shots while constantly moving to different locations.
Slider
Now moving to tools that can give you more dynamic movement, we have the slider. Sliders are tracks that allow you to slide your camera in one of two directions. There are manual sliders which mean you move the camera yourself, and automatic sliders, where you set a beginning and end point and the camera moves on its own. Sliders are great for studio shoot situations where you’ll be in the same place for a long period of time. In order to use a slider you usually need two tripods to prop up either side of the slider. This means it can take a while to get everything set up.
Once you’re all set up, sliders are ideal for adding slow dramatic movement to a scene. If you’re shooting a product video, you can have one continuous shot that moves from one side of a product to another. If you’re filming an interview, you can add a slow moving parallax shot where you keep your subject in the same part of the frame while the background seemingly moves behind them. All of these options will transform your shot from being static and simple, to dynamic and more engaging.
Glidecam
The next tool is the glidecam. Glidecams are weighted, mobile camera stabilizers that allow you to get smoother footage while moving with the camera. Glidecams are a great non-motorized camera stabilizer for mobile shots.
If you’re looking to film things with a lot of action like dancing or sports, or you just want to add more motion to something a little more static like a live concert, then a glidecam is a great option. While all camera equipment takes time to master, glidecams in particular require a lot of practice, trial, and error. It takes a while to get used to balancing the camera and keeping your subjects in frame while you’re moving. If you do invest in a glidecam, spend a lot of time practicing with it until you’re comfortable and confident using it on important shoots.
Motorized Gimbal
A similar option to the glidecam is a motorized gimbal. Motorized gimbals give you a similar kind of mobile stabilization, while also giving you more options with the ability to move your camera electronically. There are advantages and disadvantages to manual gimbals and motorized gimbals. Generally manual stabilizers are slightly better at creating smooth, natural feeling motion, while motorized gimbals give you more flexibility in ways that you can move your camera creatively (like performing a 360 degree camera roll).

When you’re picking new equipment to buy or film with, consider what things you’ll be filming and what tool will best suit you for those situations. If you’re looking to film weddings where you’ll be moving around a lot and need to work quickly, you might want a glidecam, motorized gimbal, or monopod. If you’re filming product videos and studio interviews, maybe you want a tripod, or a slider (which means you need two tripods).
After you have your equipment, go out and practice shooting. Get used to your new equipment so that you’re better prepared for your important projects. If you want examples of our own work, we use a combination of these tools in lots of our videos. Additionally you can contact us for help with your own project.

How to Improve Your Product Videos
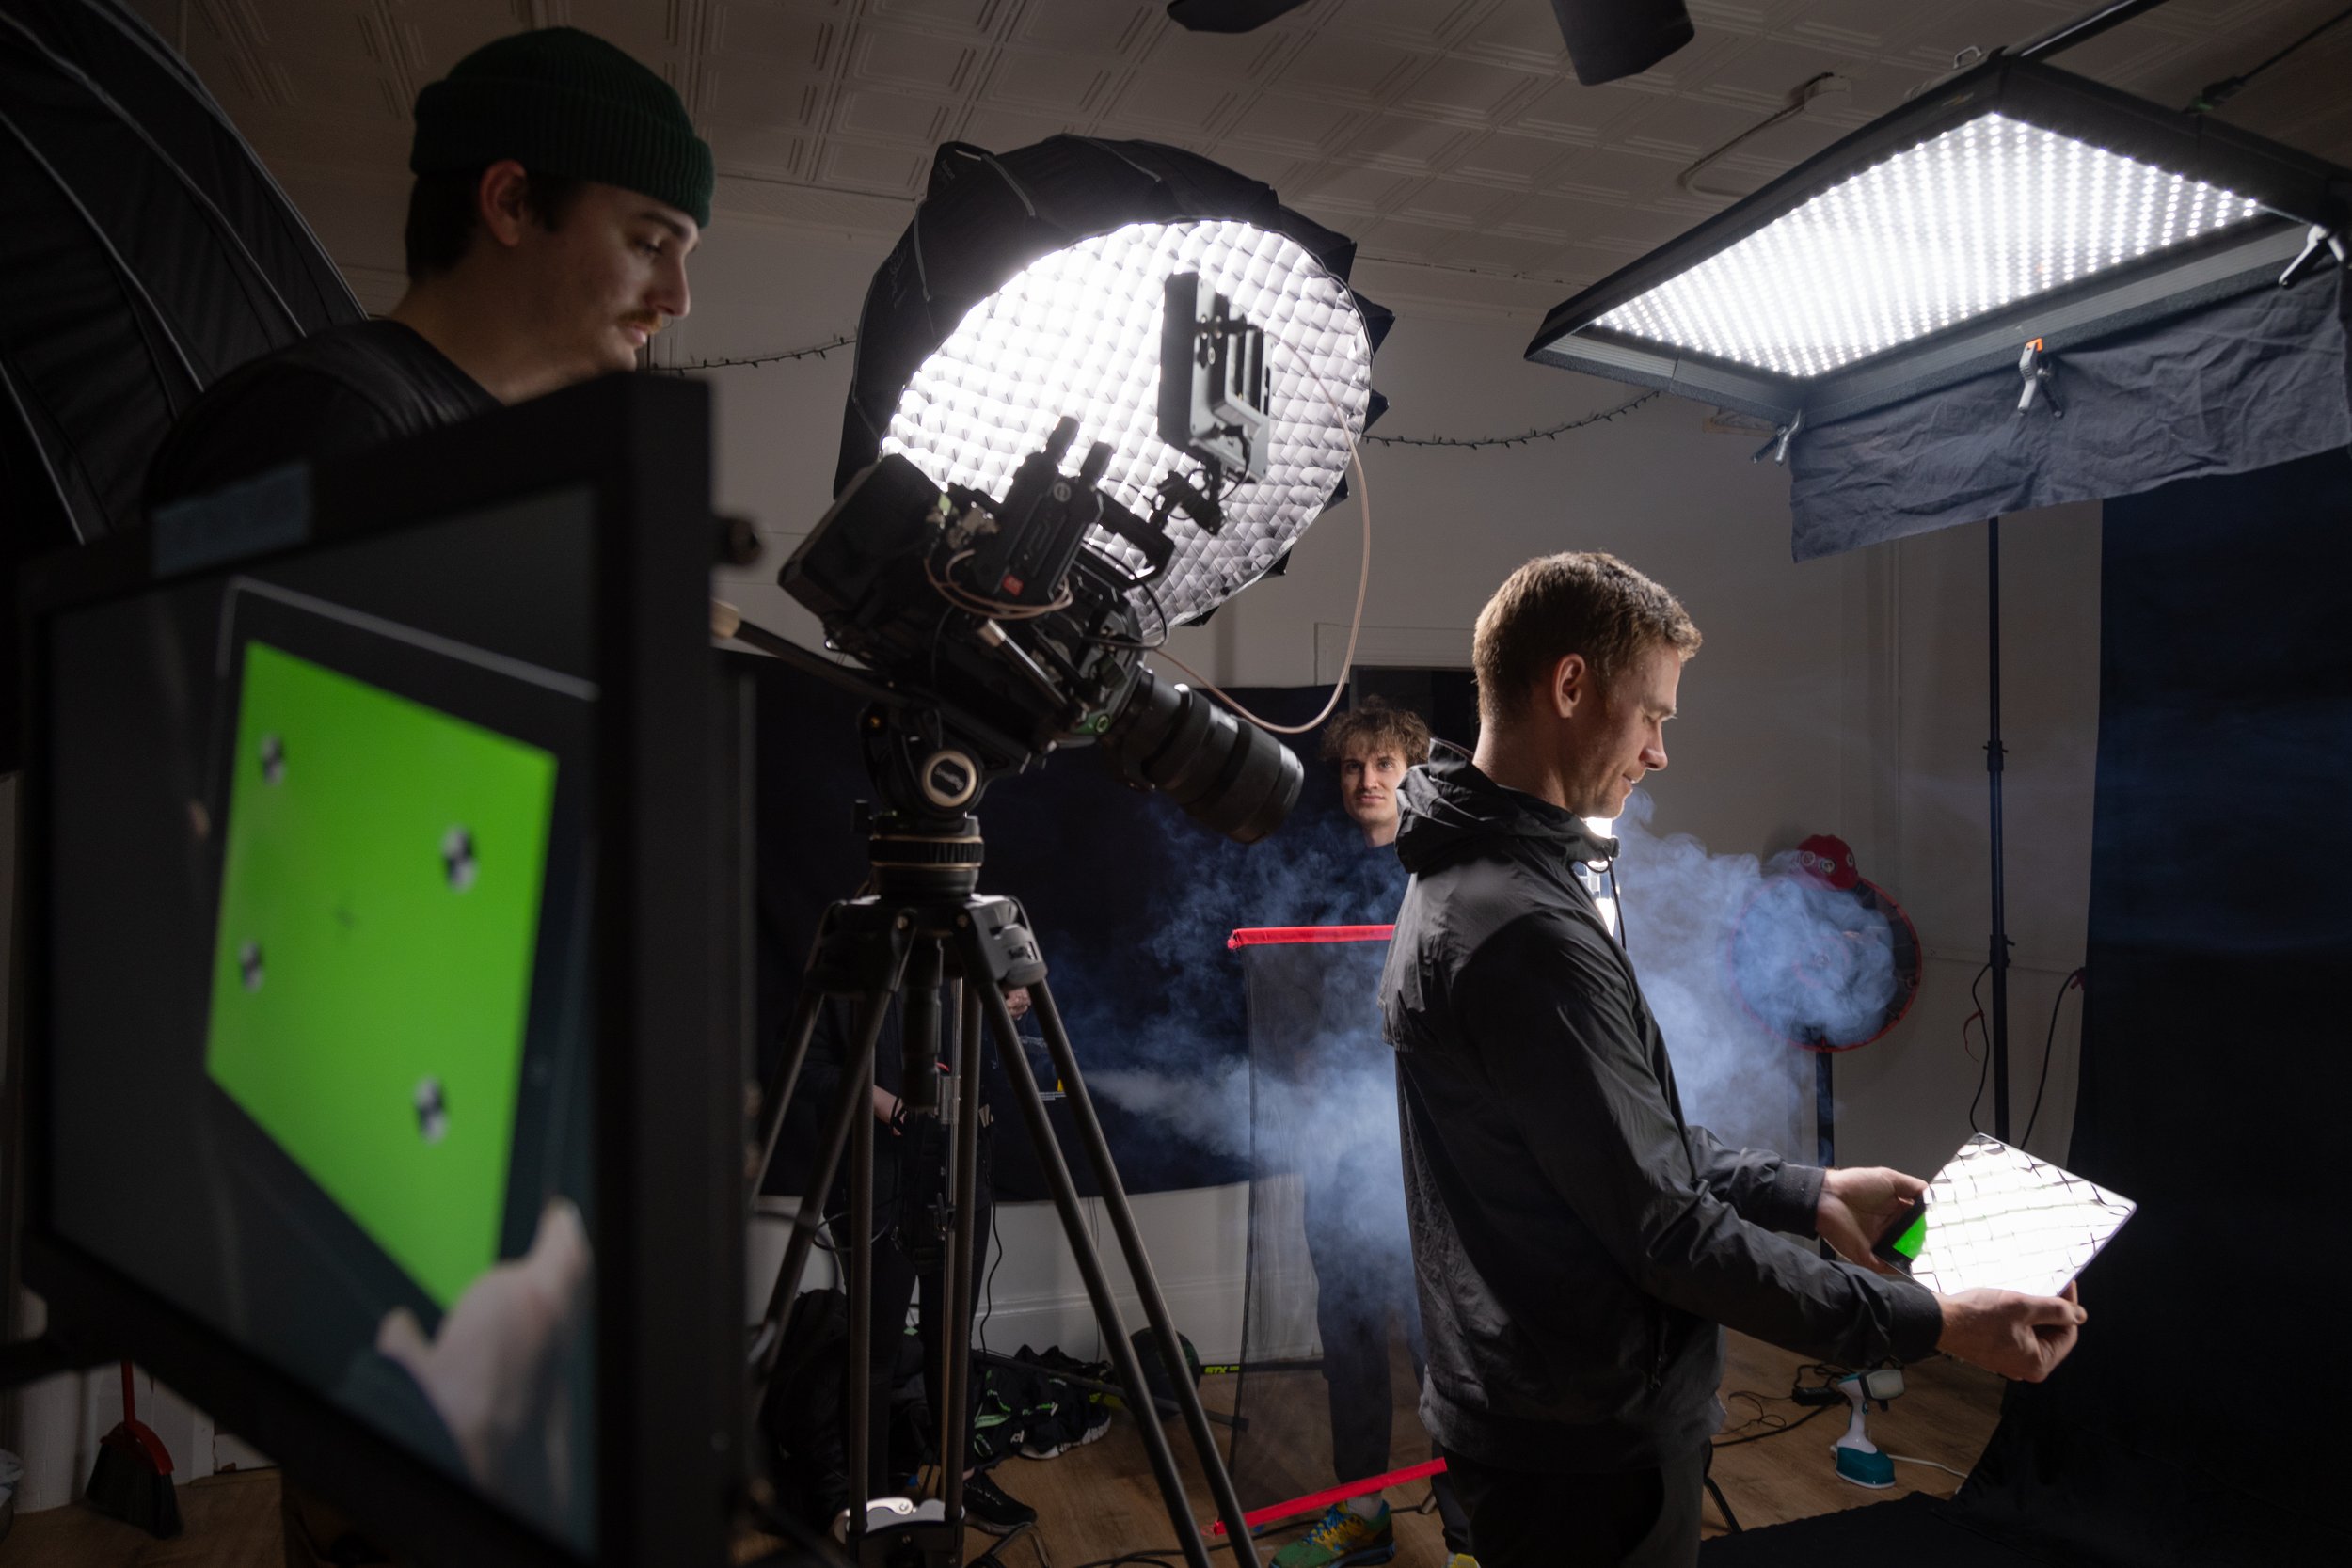
Since we’ve revamped our indoor studio at Windwood we’ve been able to shoot a lot more product videos. If you’re jumping more into product photography or videography like we are, then we have some tips to help you narrow down ideas for your shoots.
Since we’ve revamped our indoor studio at Windwood we’ve been able to shoot a lot more product videos. If you’re jumping more into product photography or videography like we are, then we have some tips to help you narrow down ideas for your shoots.
Crafting Your Setting
One of the most important aspects of product videos is preparing a relevant style and color scheme. Take the time to talk with your client and research the product (or product line) that you’re promoting. Is the product in line with the company’s past work, and if so what kinds of promotional material have they made in the past? You want to be sure that you align with the appropriate color schemes and styles that fit for this particular product and brand.
Once you know what style and colors you’re looking for, it’s time to prepare your set. You want to coordinate an appropriate backdrop, table covering, and any additional props that might fit with the product. Think about what will complement the product and emphasize any points you want to make. If the product has bright colors on it, then you could stick with a solid dark color background so that the product stands out. Alternatively if the product is more simple, you can add background objects around it that spice up the image like product stands, fruits, beads, sand, etc.
Since product videos are often short glimpses into a company’s branding, it’s also especially important to find the right music. Really take your time and find something that suits this particular product and brand. Your goal should be to help shape the viewer's perspective of this product. Should you strike a serious tone or is this product more focused on a laid back style? Additionally, make sure to record and include sound effects that enhance the feel of the product, like the drip of condensation, or the perfect pour of a drink.
Camera and Visuals
Once you have your background and maybe even your music all set up, it is equally important to set up an effective lighting layout. You want to make sure that all sides of the product and the background are well lit and look appealing. We recommend setting up at least a traditional 3 point lighting setup. This includes a key light in front lighting up the subject (slightly to the side of your camera), a fill light to help balance out any shadows created by the key light, and then a backlight behind the subject to help give the subject more depth. If you have control over color temperature you should also make sure to choose something appropriate for your product that matches the rest of your color scheme.
Most products that you’re going to film aren’t going to move dynamically on their own. That’s why you should focus on finding creative ways to include dynamic movement into your product video. This could mean actually moving your camera in creative ways, like a dolly in shot to set the scene. Additionally though you can move the object. One common method is to use a turntable. This is great for beverages and other tall container items that look good spinning.
In addition to setting up your lighting and planning dynamic movements, you also want to make sure you film with the right lenses. Just like shooting portraits, different lenses will have different effects on your subject. If you have a lot of different objects in your studio setup and you want to compress the depth of the image, then you want to use a longer lens. Longer lenses are also generally more flattering for people and products. Alternatively though, if you want to capture an image closer to what your eye sees, or give a little bit more depth to your image, you can shoot with wider or medium length lenses. Experiment and find what works best for your particular product.
Just like any other video style, product videography just takes planning and practice. Get out some materials in your house or studio and have fun with it. The more you practice, the easier things will be when you need to shoot a video for a client.
If you want more examples of our own studio work, check out our studio page. Alternatively, if you want help with your next product video, or studio project, contact us here.

Working with Shadows: Outdoor Photography Part 2
If you’re a photographer, chances are you’re going to occasionally shoot in natural light. Some people love working in natural light, while others are frustrated by it. The trouble is, you don’t have full control so it’s difficult to make sure your subject is well lit. Despite these difficulties, outdoor and natural light photography can be really rewarding.
If you’re a photographer, chances are you’re going to occasionally shoot in natural light. Some people love working in natural light, while others are frustrated by it. The trouble is, you don’t have full control so it’s difficult to make sure your subject is well lit. Despite these difficulties, outdoor and natural light photography can be really rewarding.
If you struggle with natural lighting, or are just looking for additional tips, here are some strategies you can use on your next shoot.
Positioning your subject
If you’re working with natural light, it means you’re working with the sun. If you’re photographing people (or any smaller subject that you can move around) one of the simplest things you can do to adjust your lighting, is to reposition your subject.
Depending on what kind of effect you’re looking for, you can position the sun in front of or behind your subject. You want to use the sun to your advantage as much as possible. This means that sometimes the best way to add more light to your photo is just to move to a different spot for your photo.
Additional lighting
If repositioning yourself or your subject isn’t much of an option, we recommend bringing additional lighting with you for your outdoor shoots. If you’re working in a small space the whole day, you might be able to bring studio quality lighting. However, if you’re on the move, bring small supplemental lighting.
There are all kinds of products like Lumecubes and strobe lights which can help you add light to your shots. Worst comes to worst you can also resort to using headlamps or flashlights with the right color temperatures to fill out the lighting on your subject.
If you’re working on portrait photography, we would also recommend bringing a reflector. Sometimes the most effective way to get more light on your subject is to bounce sunlight the direction you need it to go.
Equipment
Another strategy for working with natural light is working with different kinds of cameras and camera lenses. Depending on the situation you might need lenses that are better suited for low lighting, like wider prime (fixed) lenses with low aperture capabilities.
Ideally you want to shoot the best possible image in camera so that you have more to work with once you get to the editing room. This means we would recommend shooting raw files as often as you can, and working with your exposure and focus settings to get the best image possible.
Postproduction
You should deal with most or all of your lighting problems while you’re actually on location shooting, but you can make minor adjustments in post production. If you’re shooting on an especially bright sunny day for example, we would recommend slightly underexposing your image. You can always bump up the exposure in post, but you don’t want to blow out your images if you overexpose them in camera.
Additionally, if you come back from a shoot and you need to boost some of the shadows on someone’s face in a few photos, you can work with highlight and shadow masks to make minor adjustments on your photos. This should allow you to bring out highlights on their face (particularly their eyes) to bring viewers attention to your subject. Remember though, that you should focus on all major decisions and issues in camera while you’re shooting, and simply use the post production process as a way to refine what you already have.
Hopefully by supplementing bits of all these strategies you can adjust to taking photos with natural light and enjoy the process! We work with natural light all the time, so if you want some fun examples, check out our photography page. Additionally if you need help with your photo shoot, contact us here.

Working With the Sun: Outdoor Photography Part 1
If you’re a photographer or videographer, there are plenty of times when you need to shoot outside in natural lighting, especially if you’re shooting events and working with musicians, athletes, or other artists. If you’re used to working in a studio, or just growing as a photographer, it can be daunting to shoot outside. It’s frustrating to not have full control over the lighting, but we have some tips to help you adapt to using natural light.
If you’re a photographer or videographer, there are plenty of times when you need to shoot outside in natural lighting, especially if you’re shooting events and working with musicians, athletes, or other artists. If you’re used to working in a studio, or just growing as a photographer, it can be daunting to shoot outside. It’s frustrating to not have full control over the lighting, but we have some tips to help you adapt to using natural light.
Time of Day
One key part of outdoor photography and videography is knowing the best times of day to shoot and film. As a general rule, you want to work early in the morning close to sunrise, or in the evening close to sunset. At these times of day, the sun is low on the horizon, meaning the light is usually soft and more flattering for portraits.
Sadly though, these times of day are short, and it’s nearly impossible to fit in a full video or photo shoot during “golden hour” either in the morning or the evening. If you can, plan to get to your location early (no matter what time of day you’re scheduled for) so that you can scout out your favorite positions before the lighting is right.
Using the Sun
Whether you can control what time of day you’re filming or not, you can always use natural lighting to your advantage in different ways. The important thing is that you consciously choose how you and your subject are positioned in relation to the sun. If you want your subject to be well lit, make sure you position the sun behind you and your subject in front of you. If you want dramatic silhouettes, position your subject between you and the sun.
Alternatively, if you’re able to take advantage of the weather, you can shoot on cloudy days for soft, dispersed light. If it’s Winter, you can shoot close to the ground to get light reflecting up off the snow. Alternatively, if it’s raining you can shoot dramatic urban night shots with all the street lights reflecting off the puddles in the street. The important thing is to go out and experiment so that you know what works well for you in different conditions.

With these steps in mind, just remember to have fun with it and experiment with different ideas. Even if you’re shooting in the middle of the day with unflattering overhead sunlight, you could position your subject in the shade of a tree, or try different dramatic angles to work around the problem. Obviously you should plan ahead to try and get the best conditions, but there are also plenty of creative solutions for all kinds of lighting.
If you want to see some of our own photos, check out our photography page. Alternatively reach out to us for help with your own project or photoshoot.

What To Wear On A Film Shoot
When you’re preparing for a film shoot, it can be tough to know what to wear. If you’re already working with an established company that has a look, then stick with that. Your company’s brand can include what you wear on shoots, so when in doubt, stick with your brand. Additionally when it comes to clothes, you want to wear clothes that you’re comfortable in, especially in the film industry when you’ll be running around with camera equipment all day. If these factors don’t narrow down your options enough, then here are some additional styles and tips for different film shoots.
When you’re preparing for a film shoot, it can be tough to know what to wear. If you’re already working with an established company that has a look, then stick with that. Your company’s brand can include what you wear on shoots, so when in doubt, stick with your brand. Additionally when it comes to clothes, you want to wear clothes that you’re comfortable in, especially in the film industry when you’ll be running around with camera equipment all day. If these factors don’t narrow down your options enough, then here are some additional styles and tips for different film shoots.

The Professional Look
Your first option is the professional or formal look. This is generally what you should wear when you first meet your clients. For a professional look, wear a button down shirt or a blouse. For pants, stick with khakis or dress pants- no jeans! With shoes you should have some leeway because you’ll be running around with camera equipment all day, however we recommend trying to stick with a pair of nice, yet comfortable sneakers. After your first meeting, gage your outfit for next time by looking at whatever your client wore. If they dressed more casually, then you can dress more casually next time too.
The Business Casual Look
This is the outfit you’ll likely wear the most. You’ll still want to stick with a button down or blouse, but you could also wear a company shirt instead (either your production team logo, or the client’s logo). For business casual scenarios, you can also wear jeans (black is best), and casual sneakers. Just try to stay away from bright-colored running shoes. Keep in mind that your “business casual” look should also be comfortable enough to move around in all day for video shoots.
The Casual Look
Finally, there’s the casual option. You can go with this option if the client themself wears casual attire, if you’ve known them for a long time, or if you’re shooting for a sports or adventuring video. You will be fine wearing a t-shirt, jeans, and whatever shoes are most comfortable. In really active scenarios shorts are okay too.
Now that we’ve covered the three looks, let’s go over some general rules for clothing.
Be Careful of logos: You don’t want to be wearing one company’s logo while filming a video for another! We recommend either wearing non-branded clothing, or your production team’s logo.
Avoid bright colors: As a part of a film crew, you want to blend in. You want to make your talent feel as comfortable as possible so that they can forget about the cameras. Therefore we recommend wearing neutral color clothing. The exception to this is if your company’s brand involves bright colors.
No gym shorts: Unless you’re on an intensely active film shoot with an athlete, stay away from gym shorts. You still want to maintain some level of professionalism.
Pants before skirts or dresses: This is up to you and your comfort level. If you’re a female in the film industry, setting up lights and cameras in a dress can be extremely difficult. When you are running around with a million things in your mind, you want to be wearing clothing that is comfortable and functional.

As we said before, the most important factors when it comes to dressing for any film shoot are your comfort level in the clothes you choose, and what brand and style you or your company has already established. Beyond those two factors, hopefully our tips help you prepare for whatever style film shoot you’re going to be working on. Hopefully then you can feel comfortable and professional while you’re out capturing stories.